

Assign controls to threats
3 of 4 · How-to
A control only reduces a score once it's linked to a threat. Until then it sits in your inventory doing nothing. There are two ways to link one you already have; the matrix is the fast one. If you don't have it yet, Suggested is where to start.
Step 1: Open Controls
The module has five tabs. Library is the inventory, Detail is one control at a time, Matrix is the bulk view, Coverage is the report on what you've done, and Suggested is what the platform recommends for weaknesses that have nothing linked to them yet.
Step 2: Start from Suggested if you have nothing to link
Suggested lists catalog controls for the weaknesses still sitting without one, ordered by how many each control closes. Accepting one creates it as a planned control and links it to that weakness in the same step. Your score stays where it is — a planned control counts for nothing until you implement it and record its effectiveness.
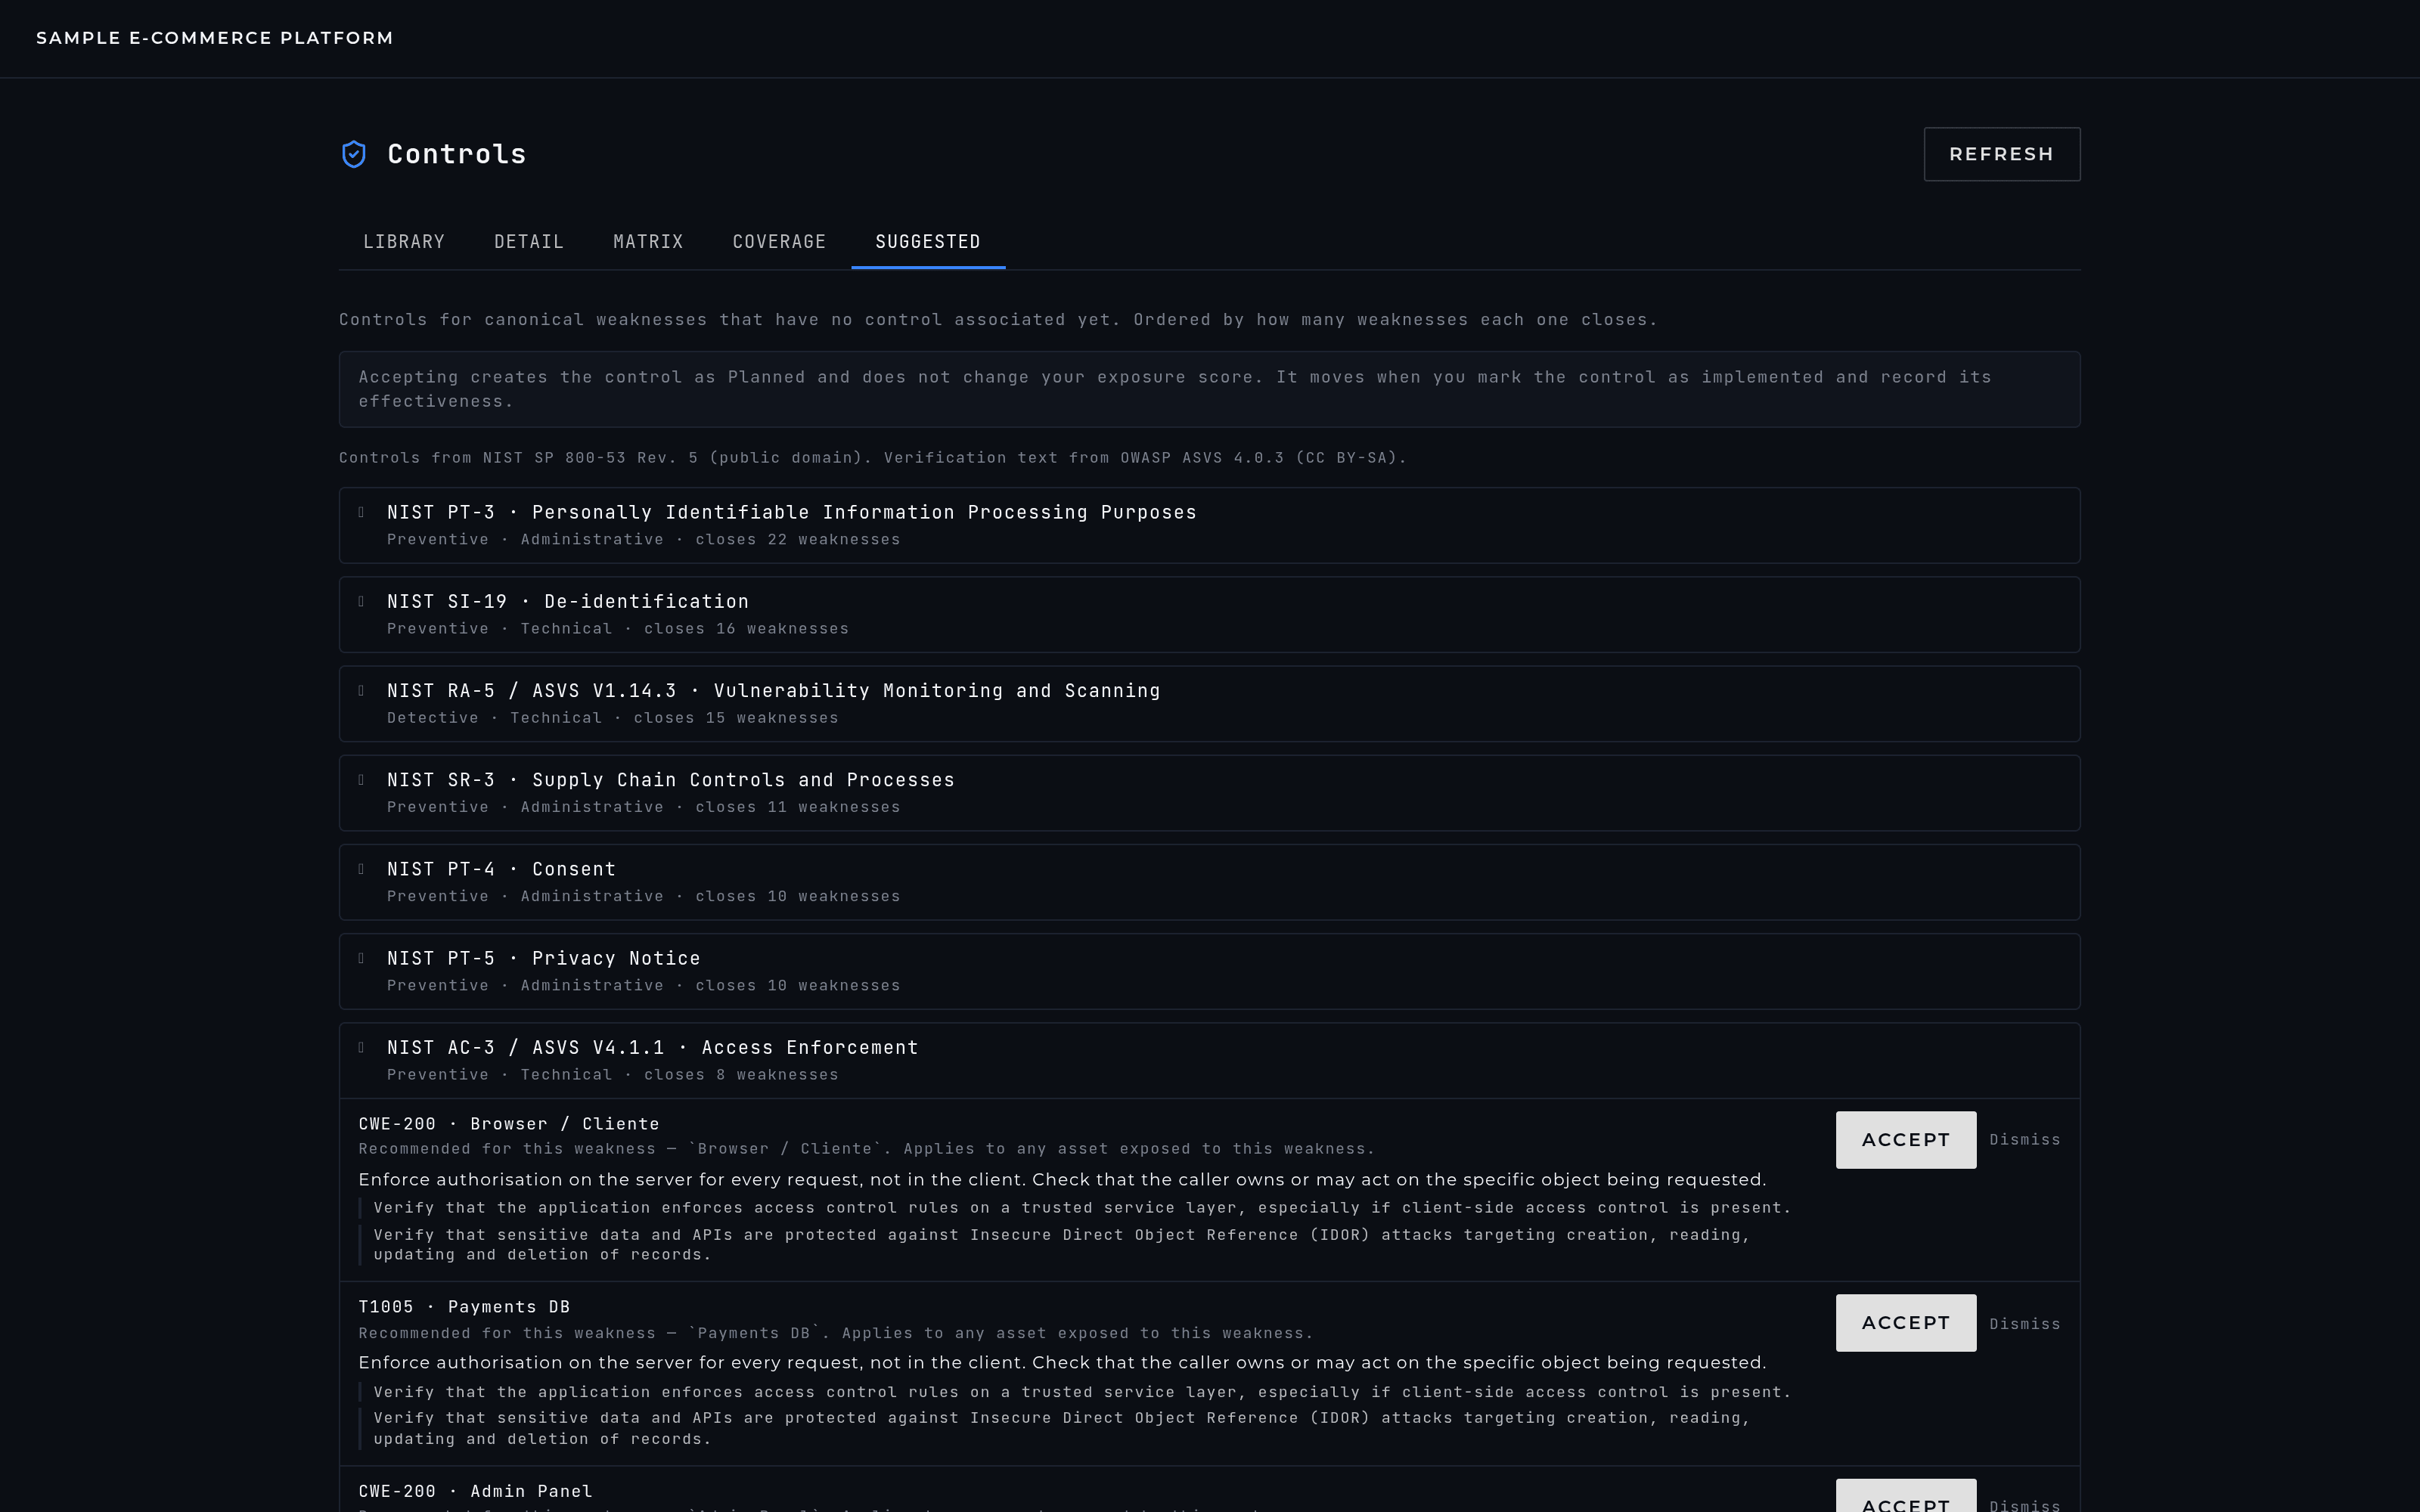
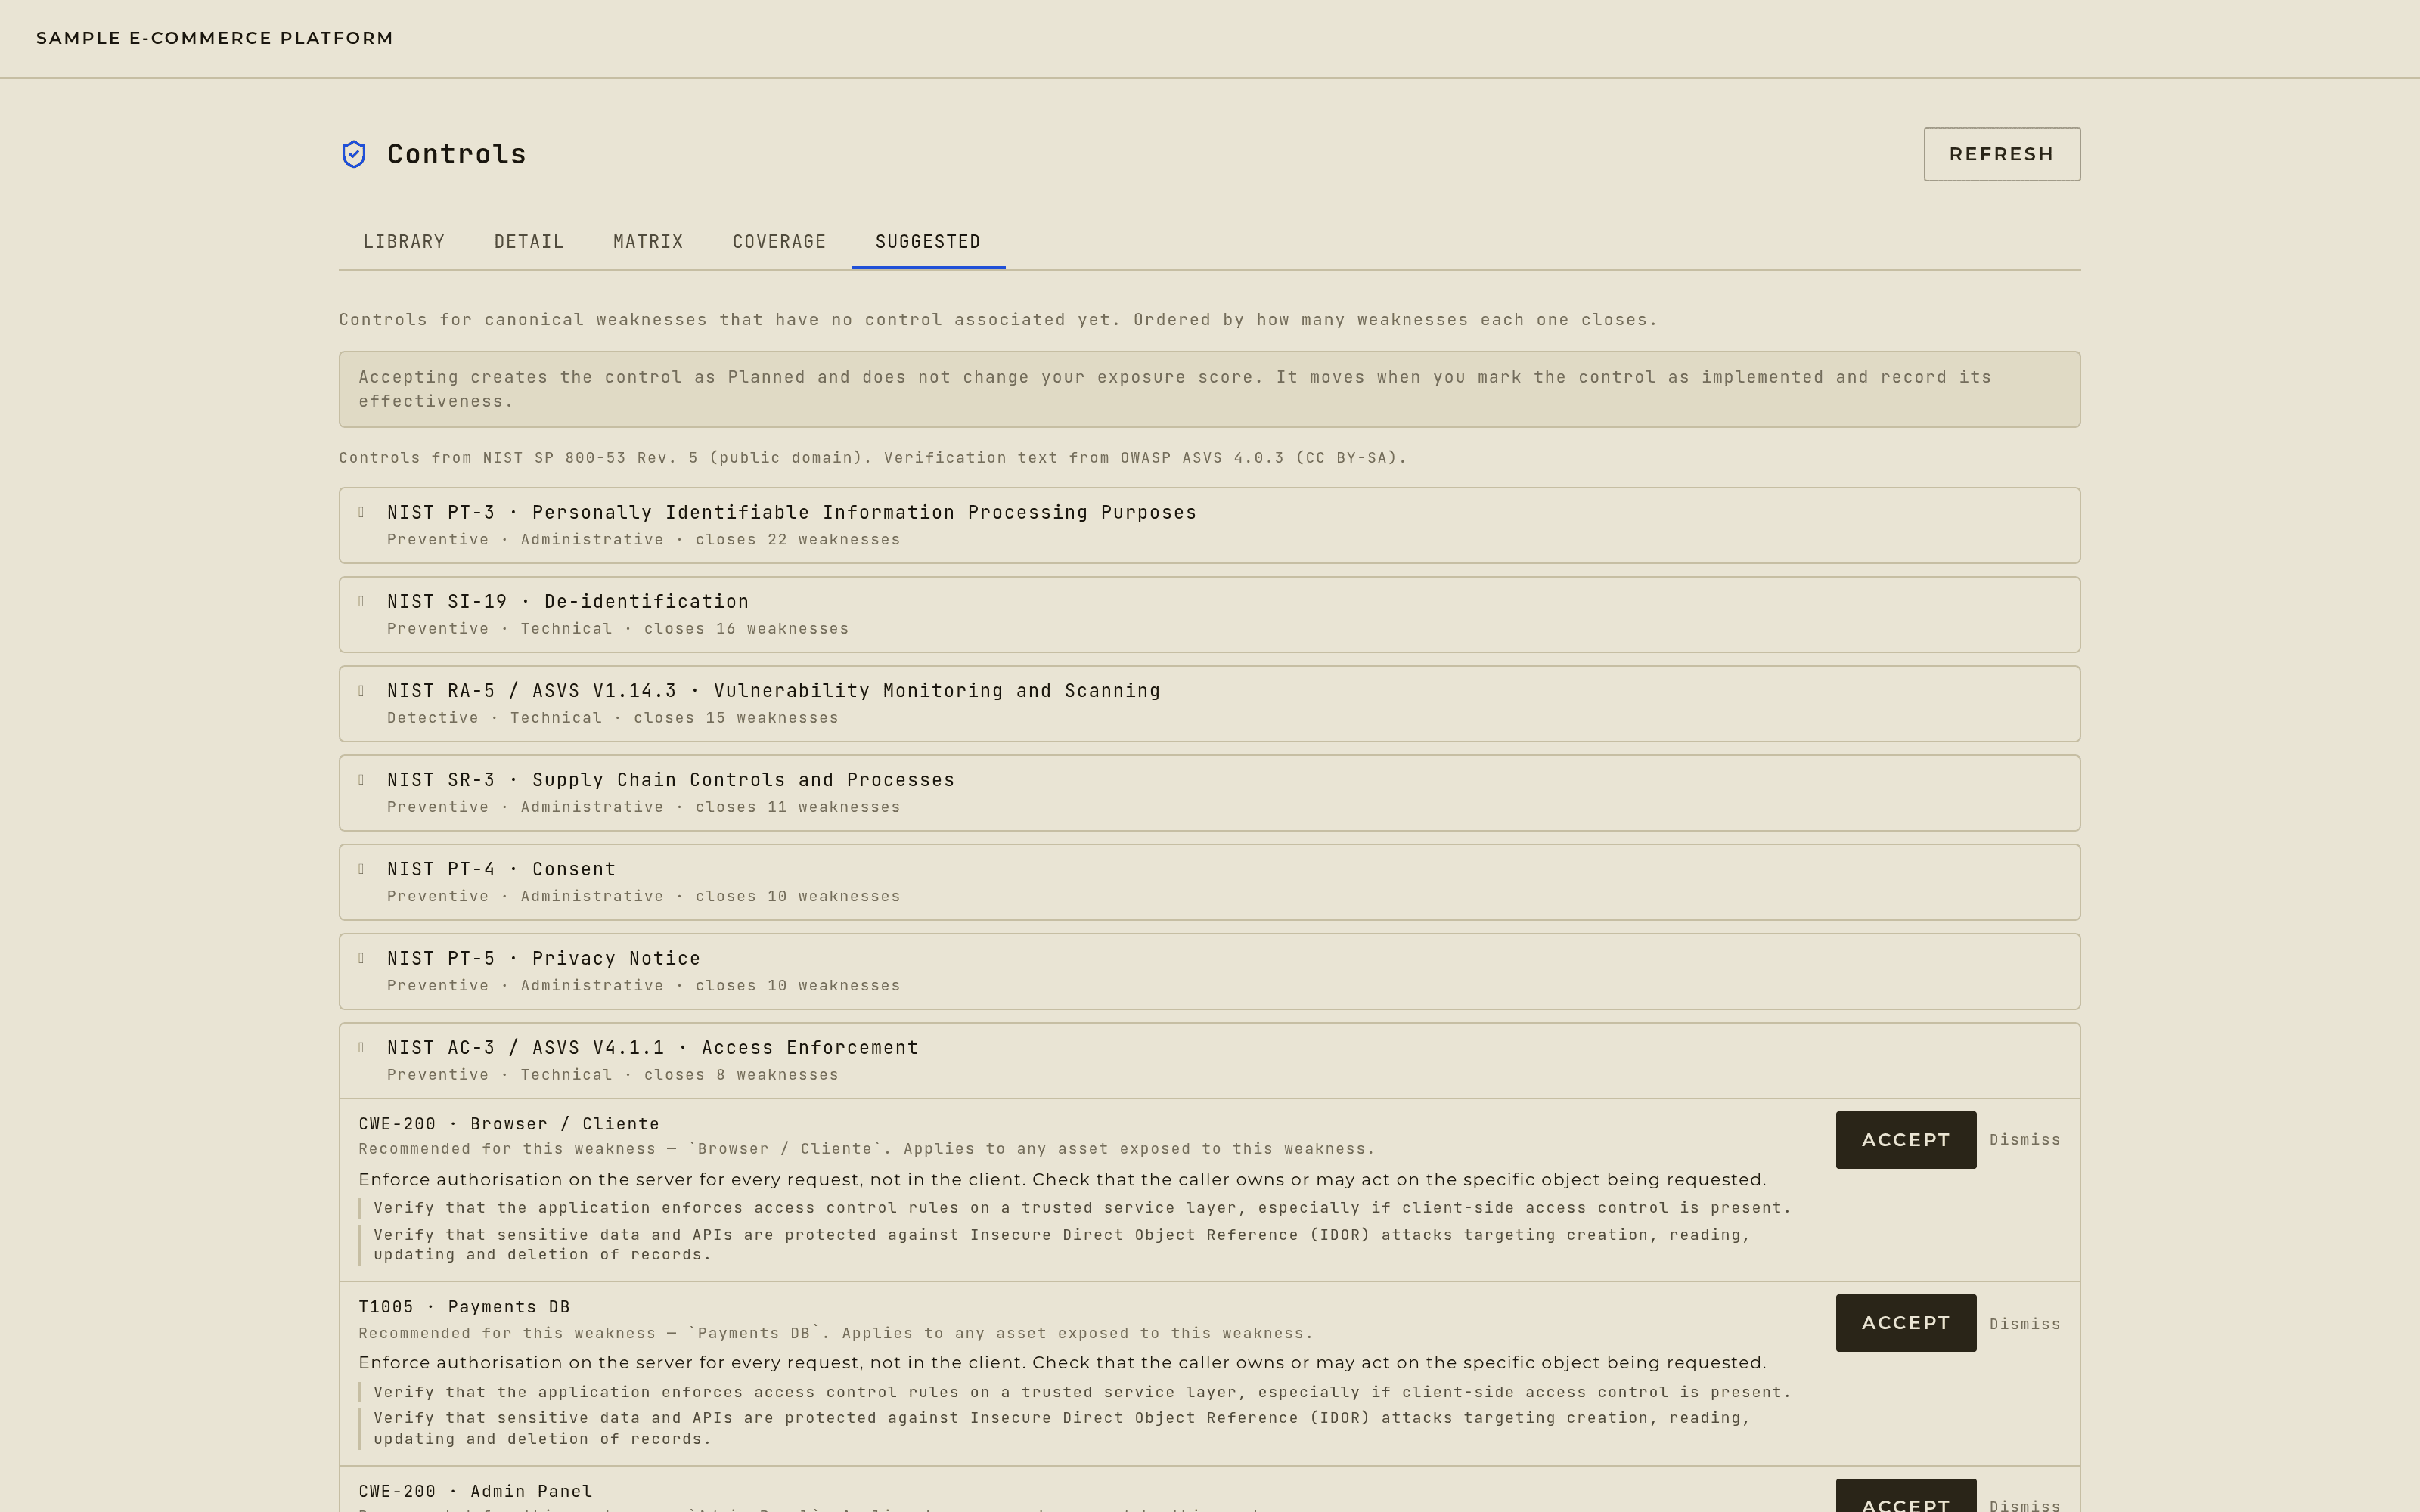
Suggested: catalog controls for the weaknesses nothing covers yet, each with what to implement and what to verify. Step 3: Use the Matrix for volume
Threats run down the side, controls across the top. One click on a cell toggles the association — green with a chain icon means linked, grey means not. It's the fastest way to link a new control across everything it covers in a single pass.
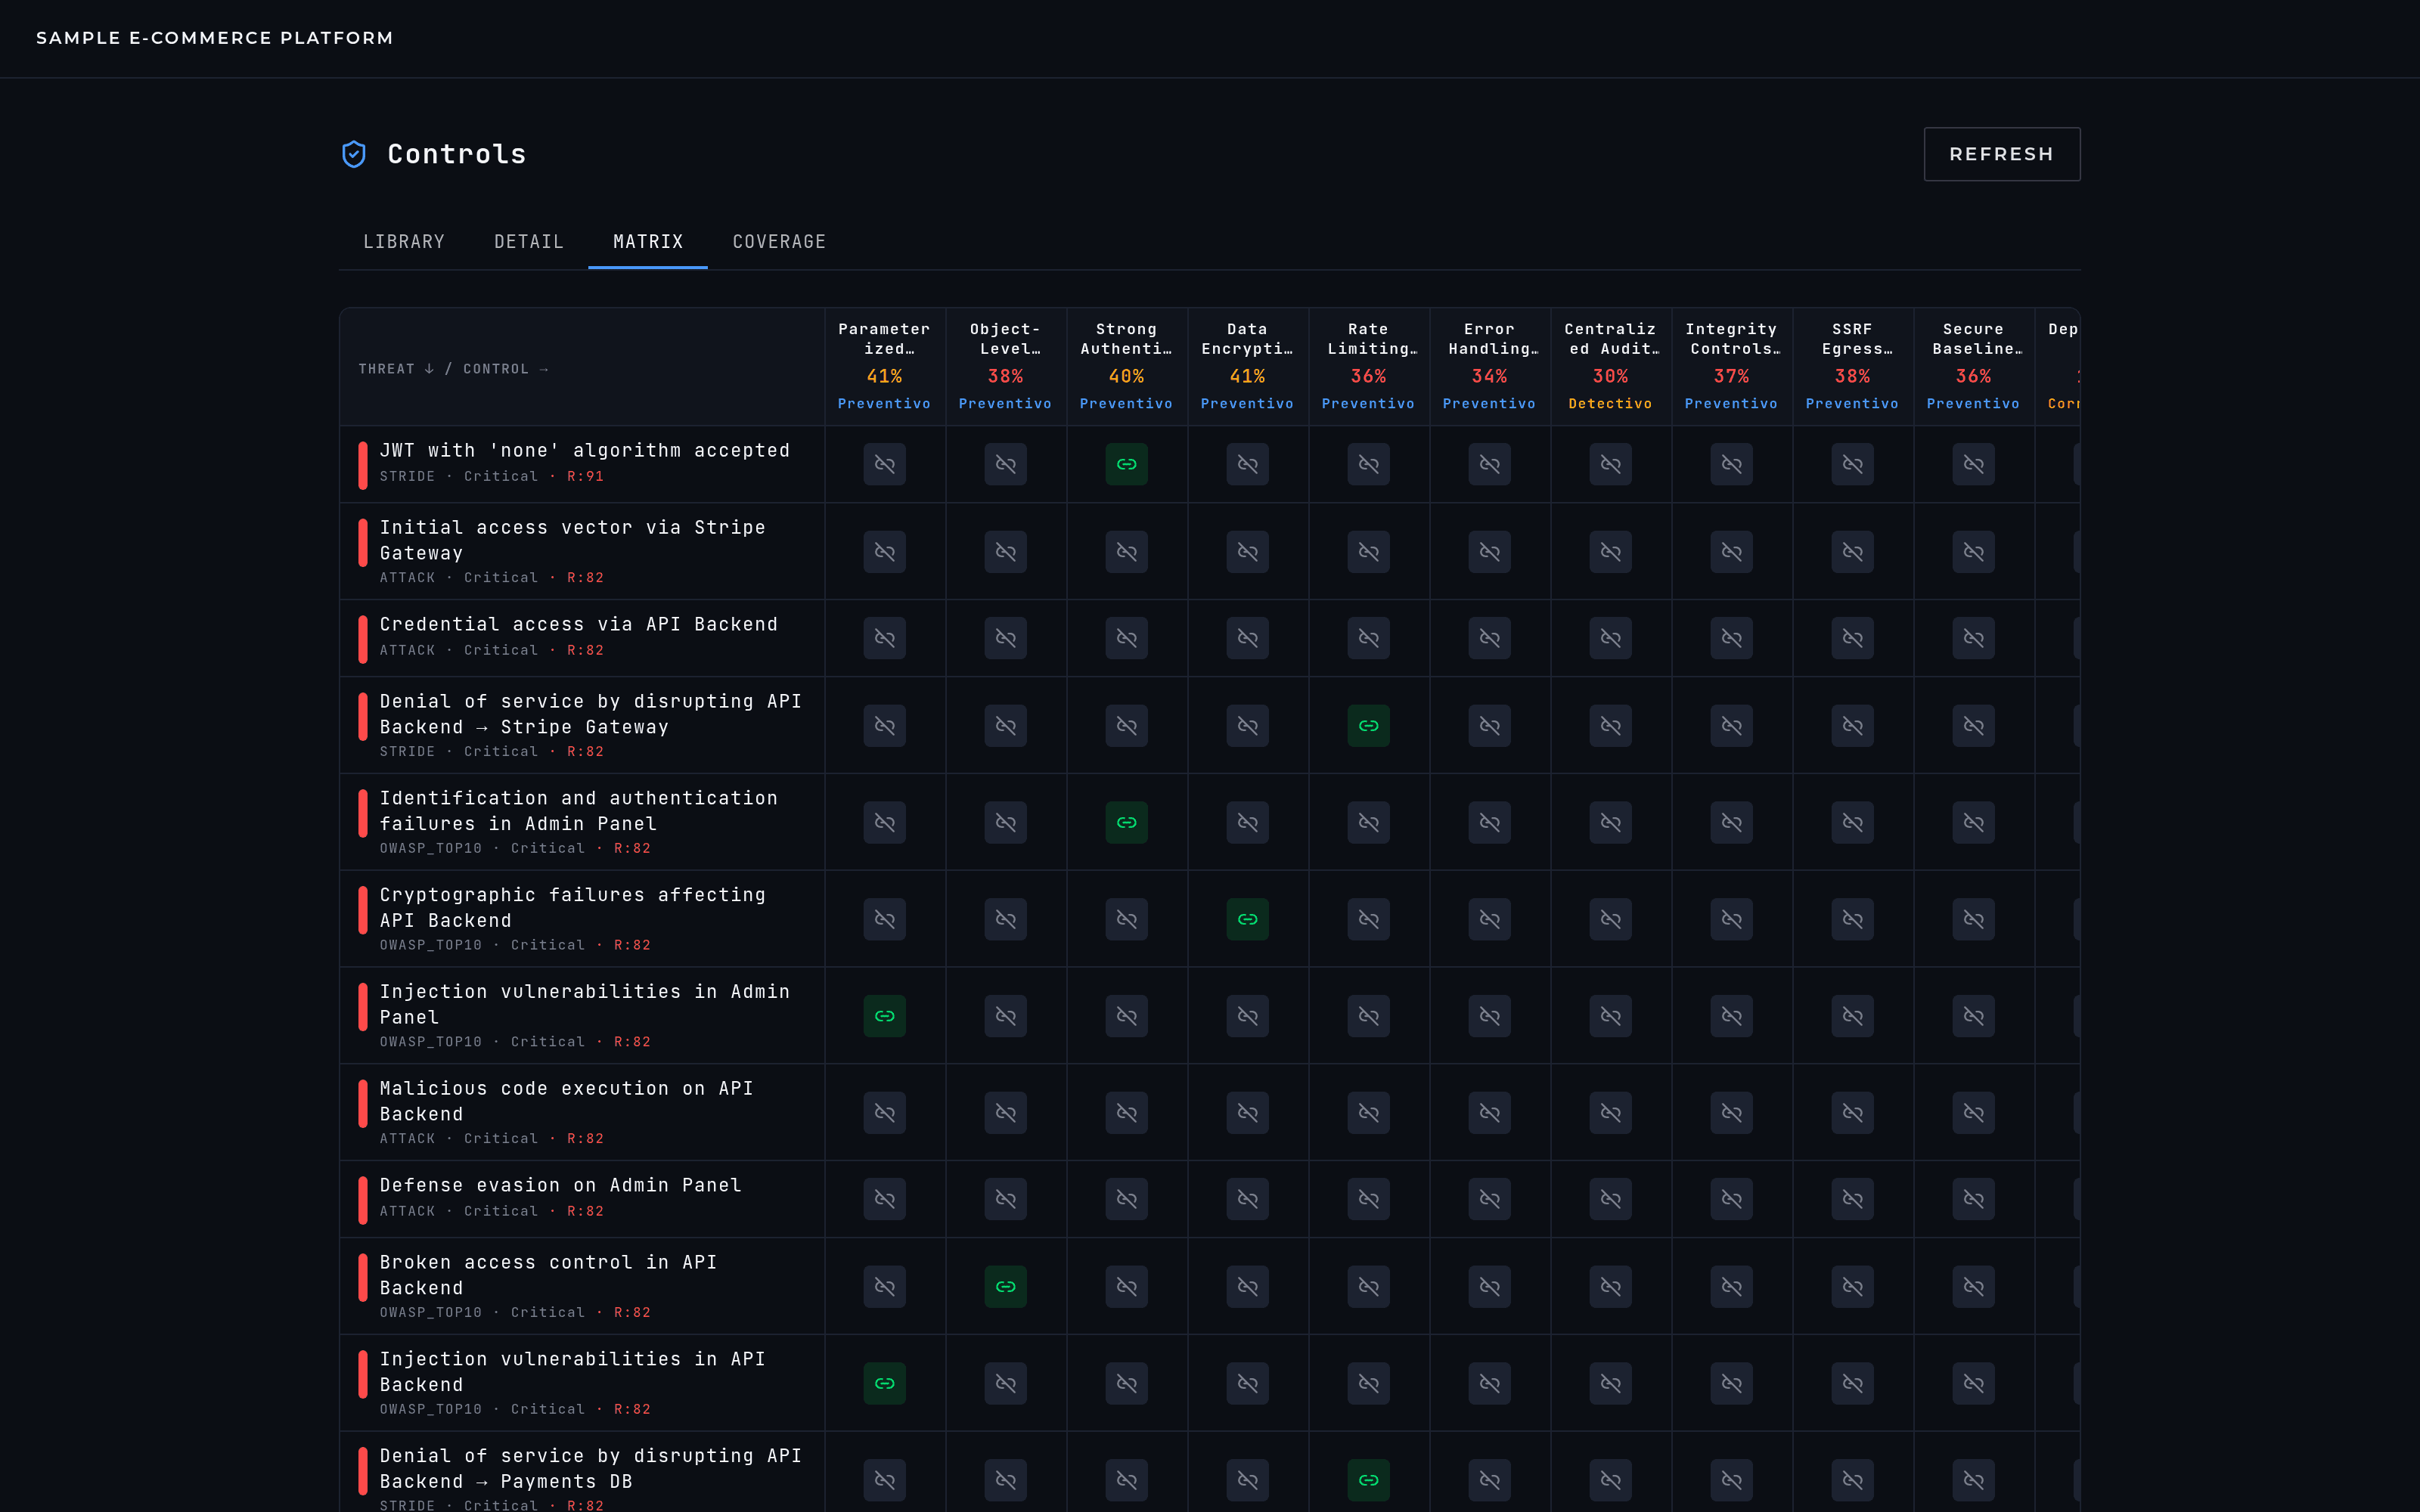
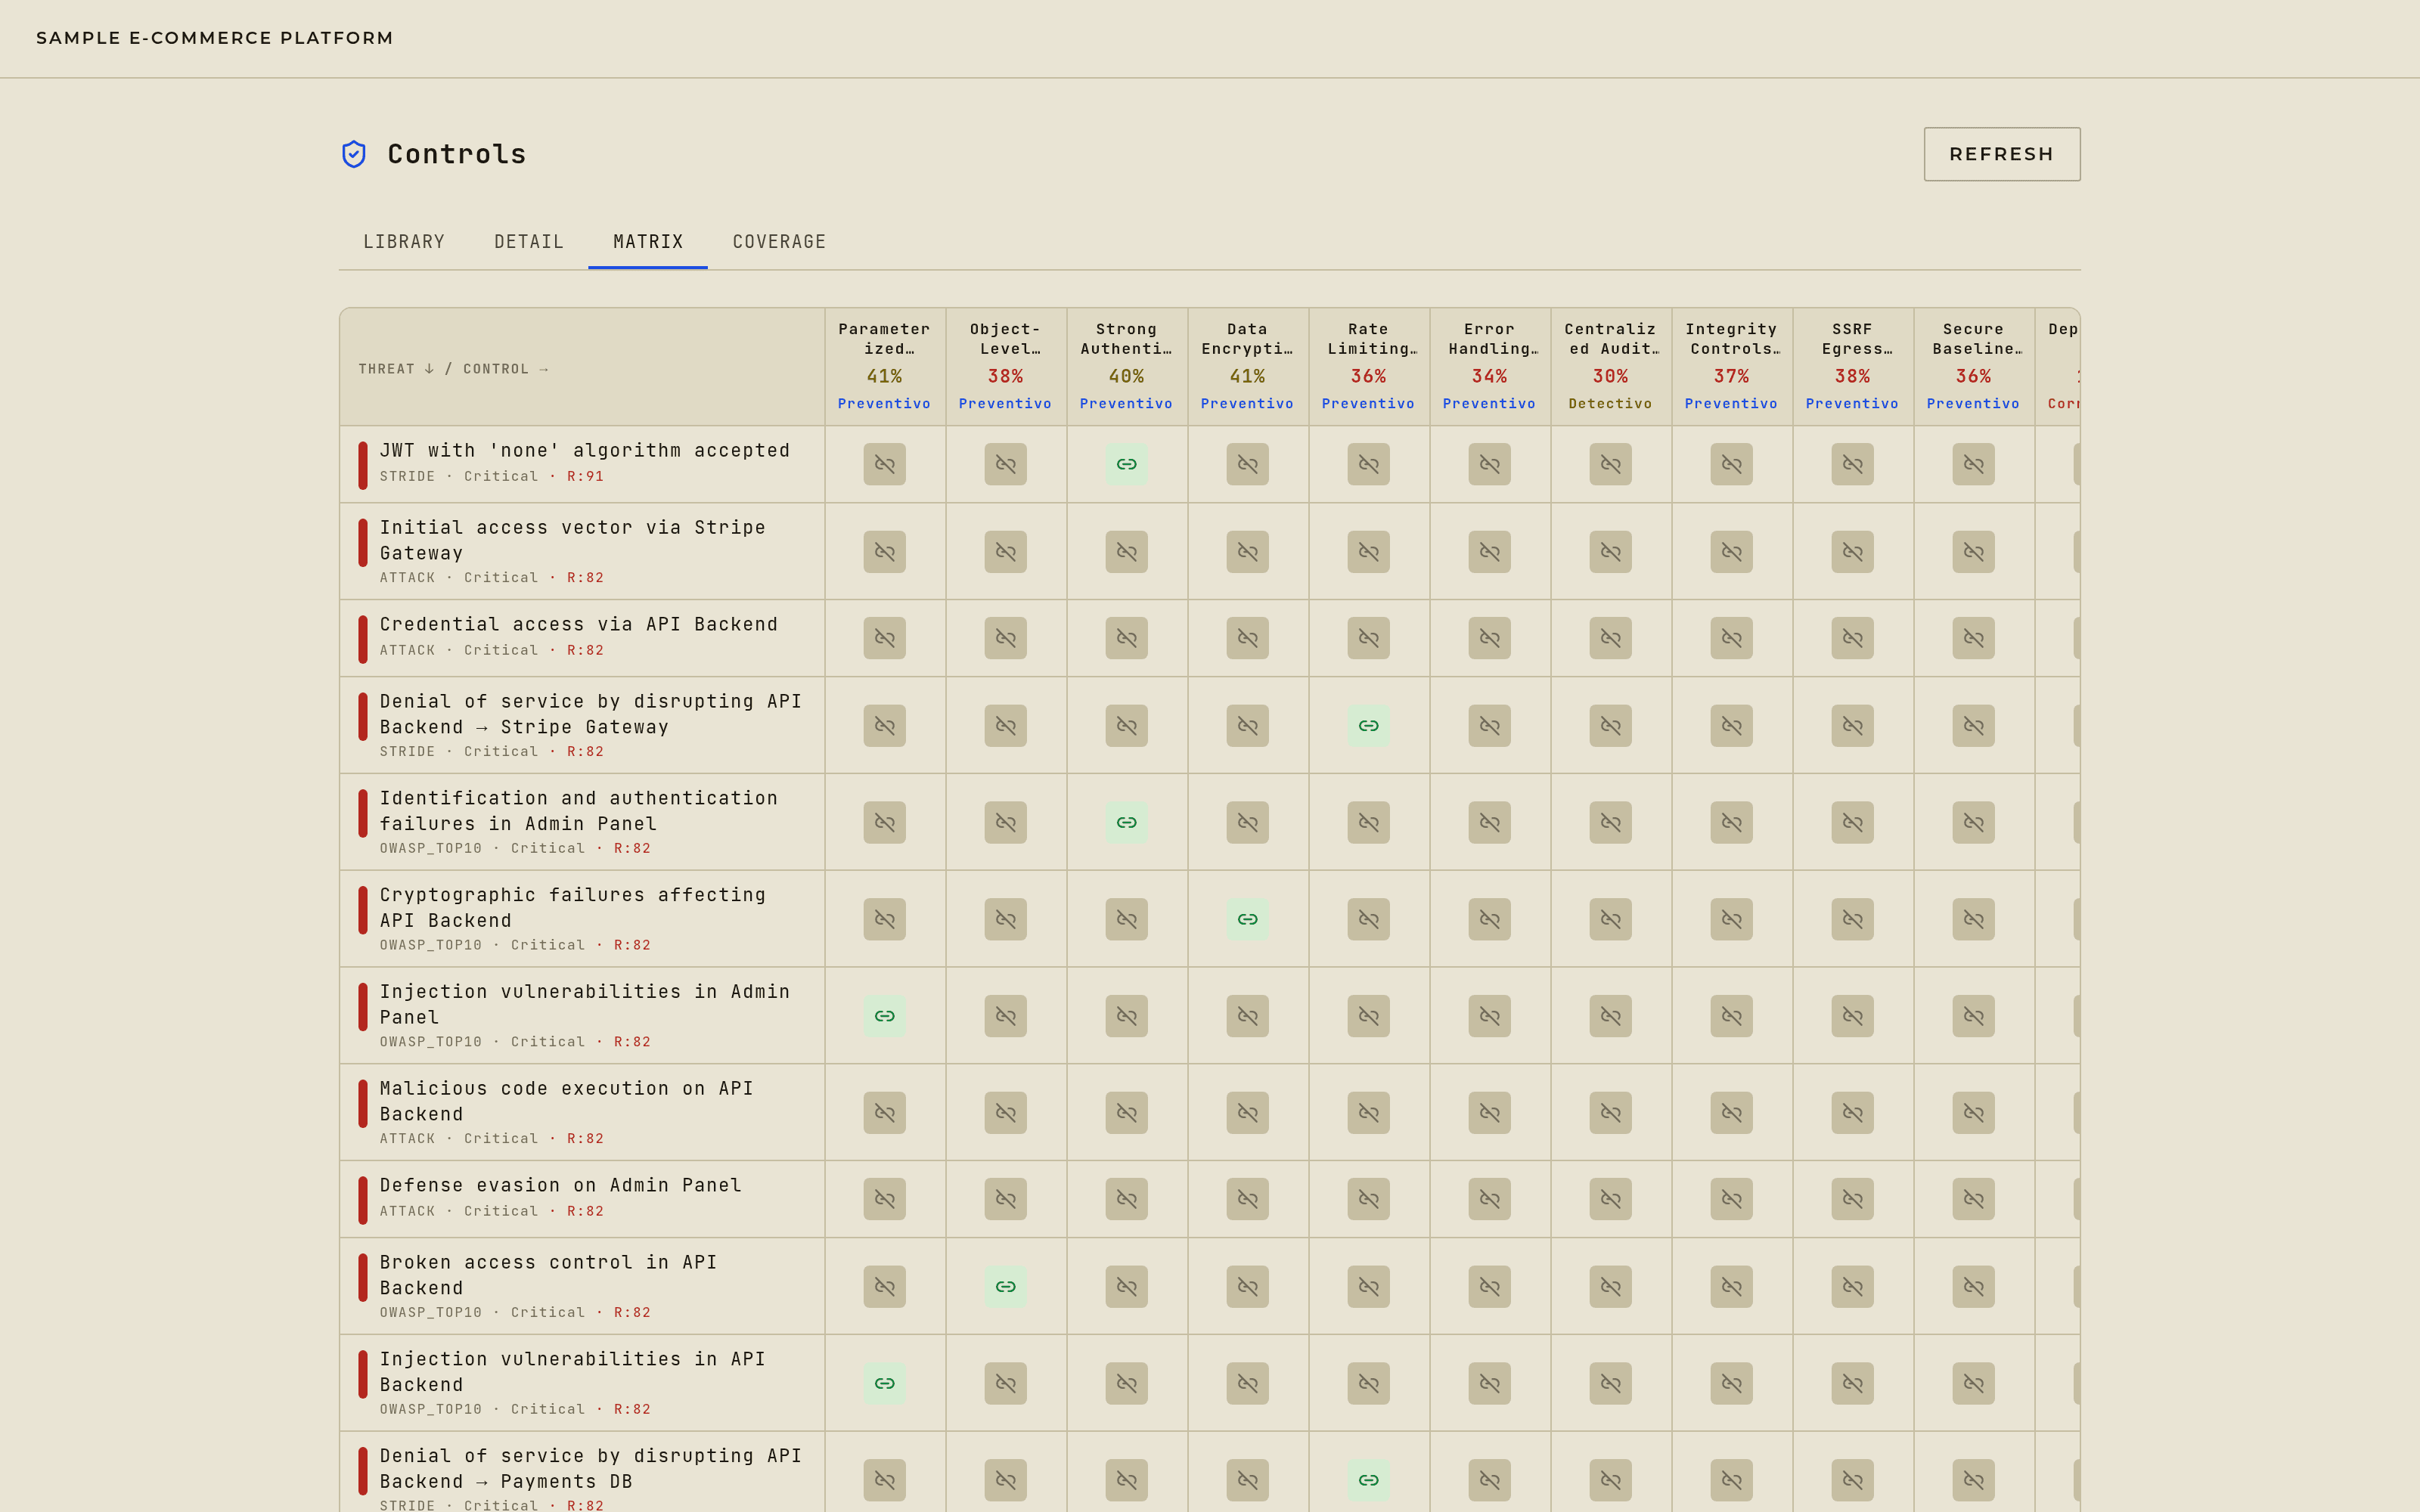
The control matrix: threats down the side, controls across the top, one click per association. Step 4: Or use Detail for one control at a time
Pick a control in the Detail tab and click any threat under Unlinked threats to associate it. Same result — better when you're reasoning carefully about a single control rather than covering ground.
Step 5: Give it a few seconds
Linking triggers two background recalculations: your risk scores, and any abuse scenarios the change affects. The numbers update a few seconds later, not instantly. A score that hasn't moved yet isn't a score that didn't move.
Step 6: Check Coverage
Coverage reports how many threats have at least one control behind them, and flags orphan controls — controls that exist in your inventory but aren't linked to anything, and therefore reduce nothing. An orphan is either a link you haven't made yet or a control protecting something this project doesn't model. Both are worth writing down.
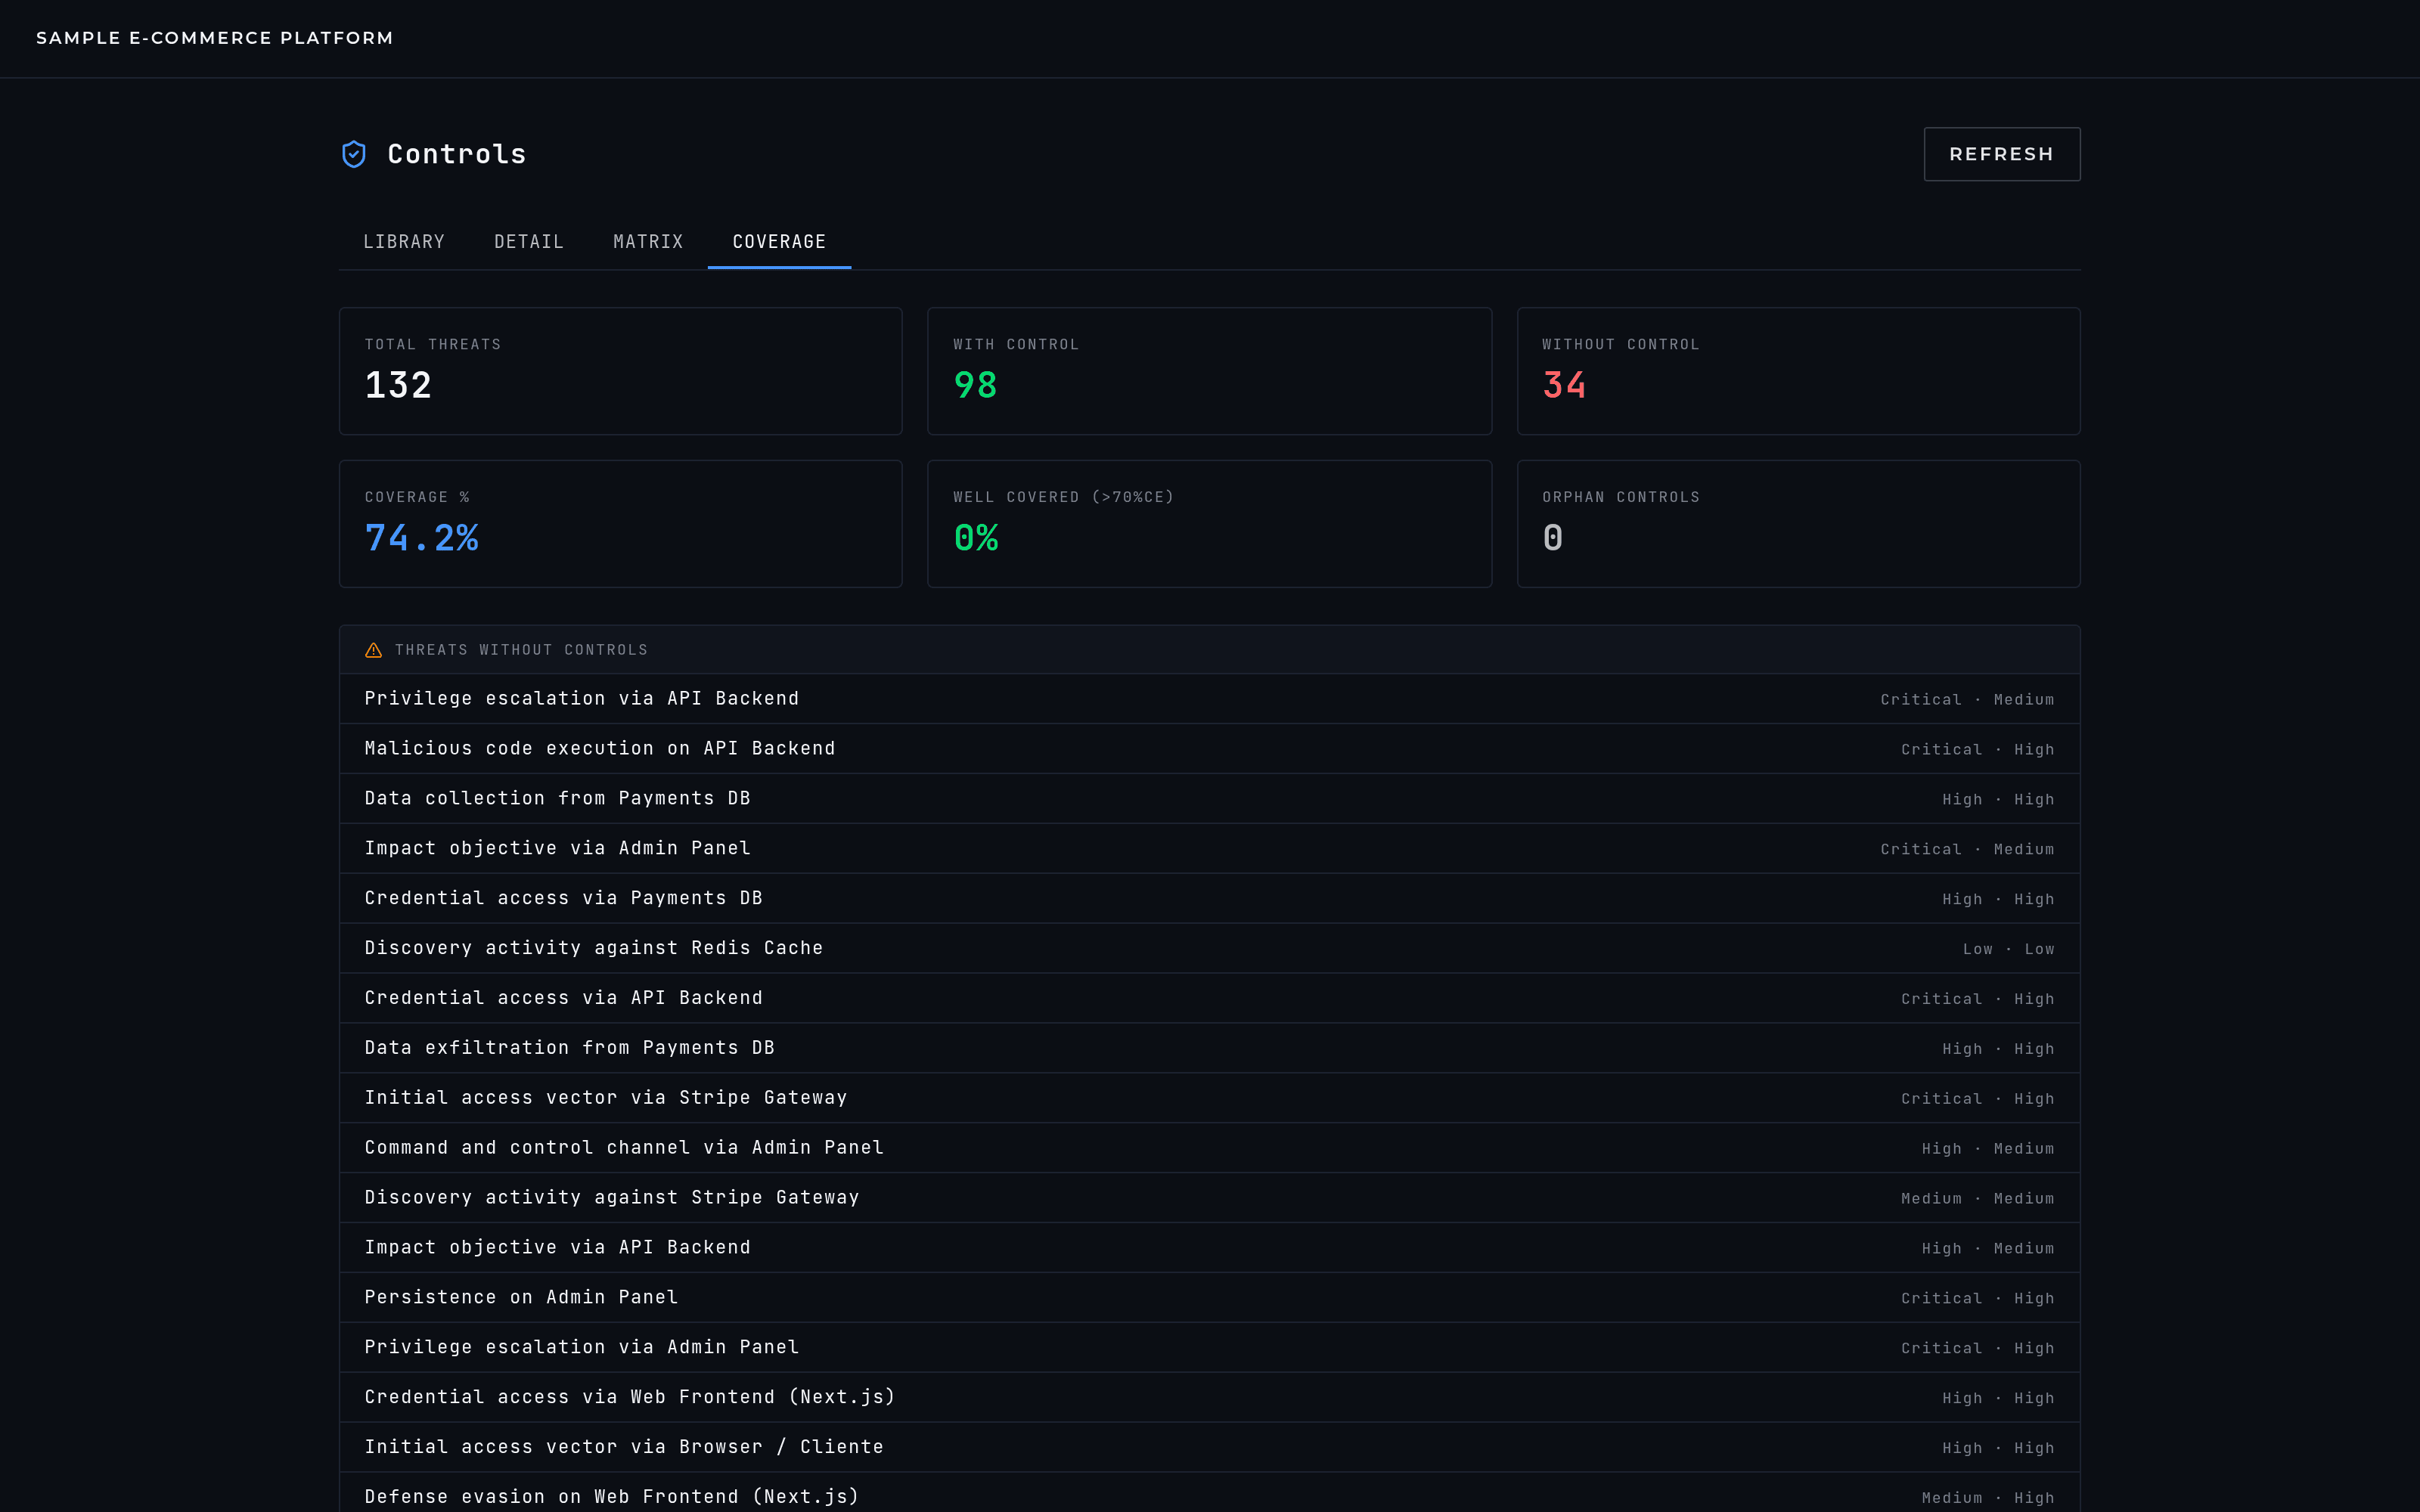
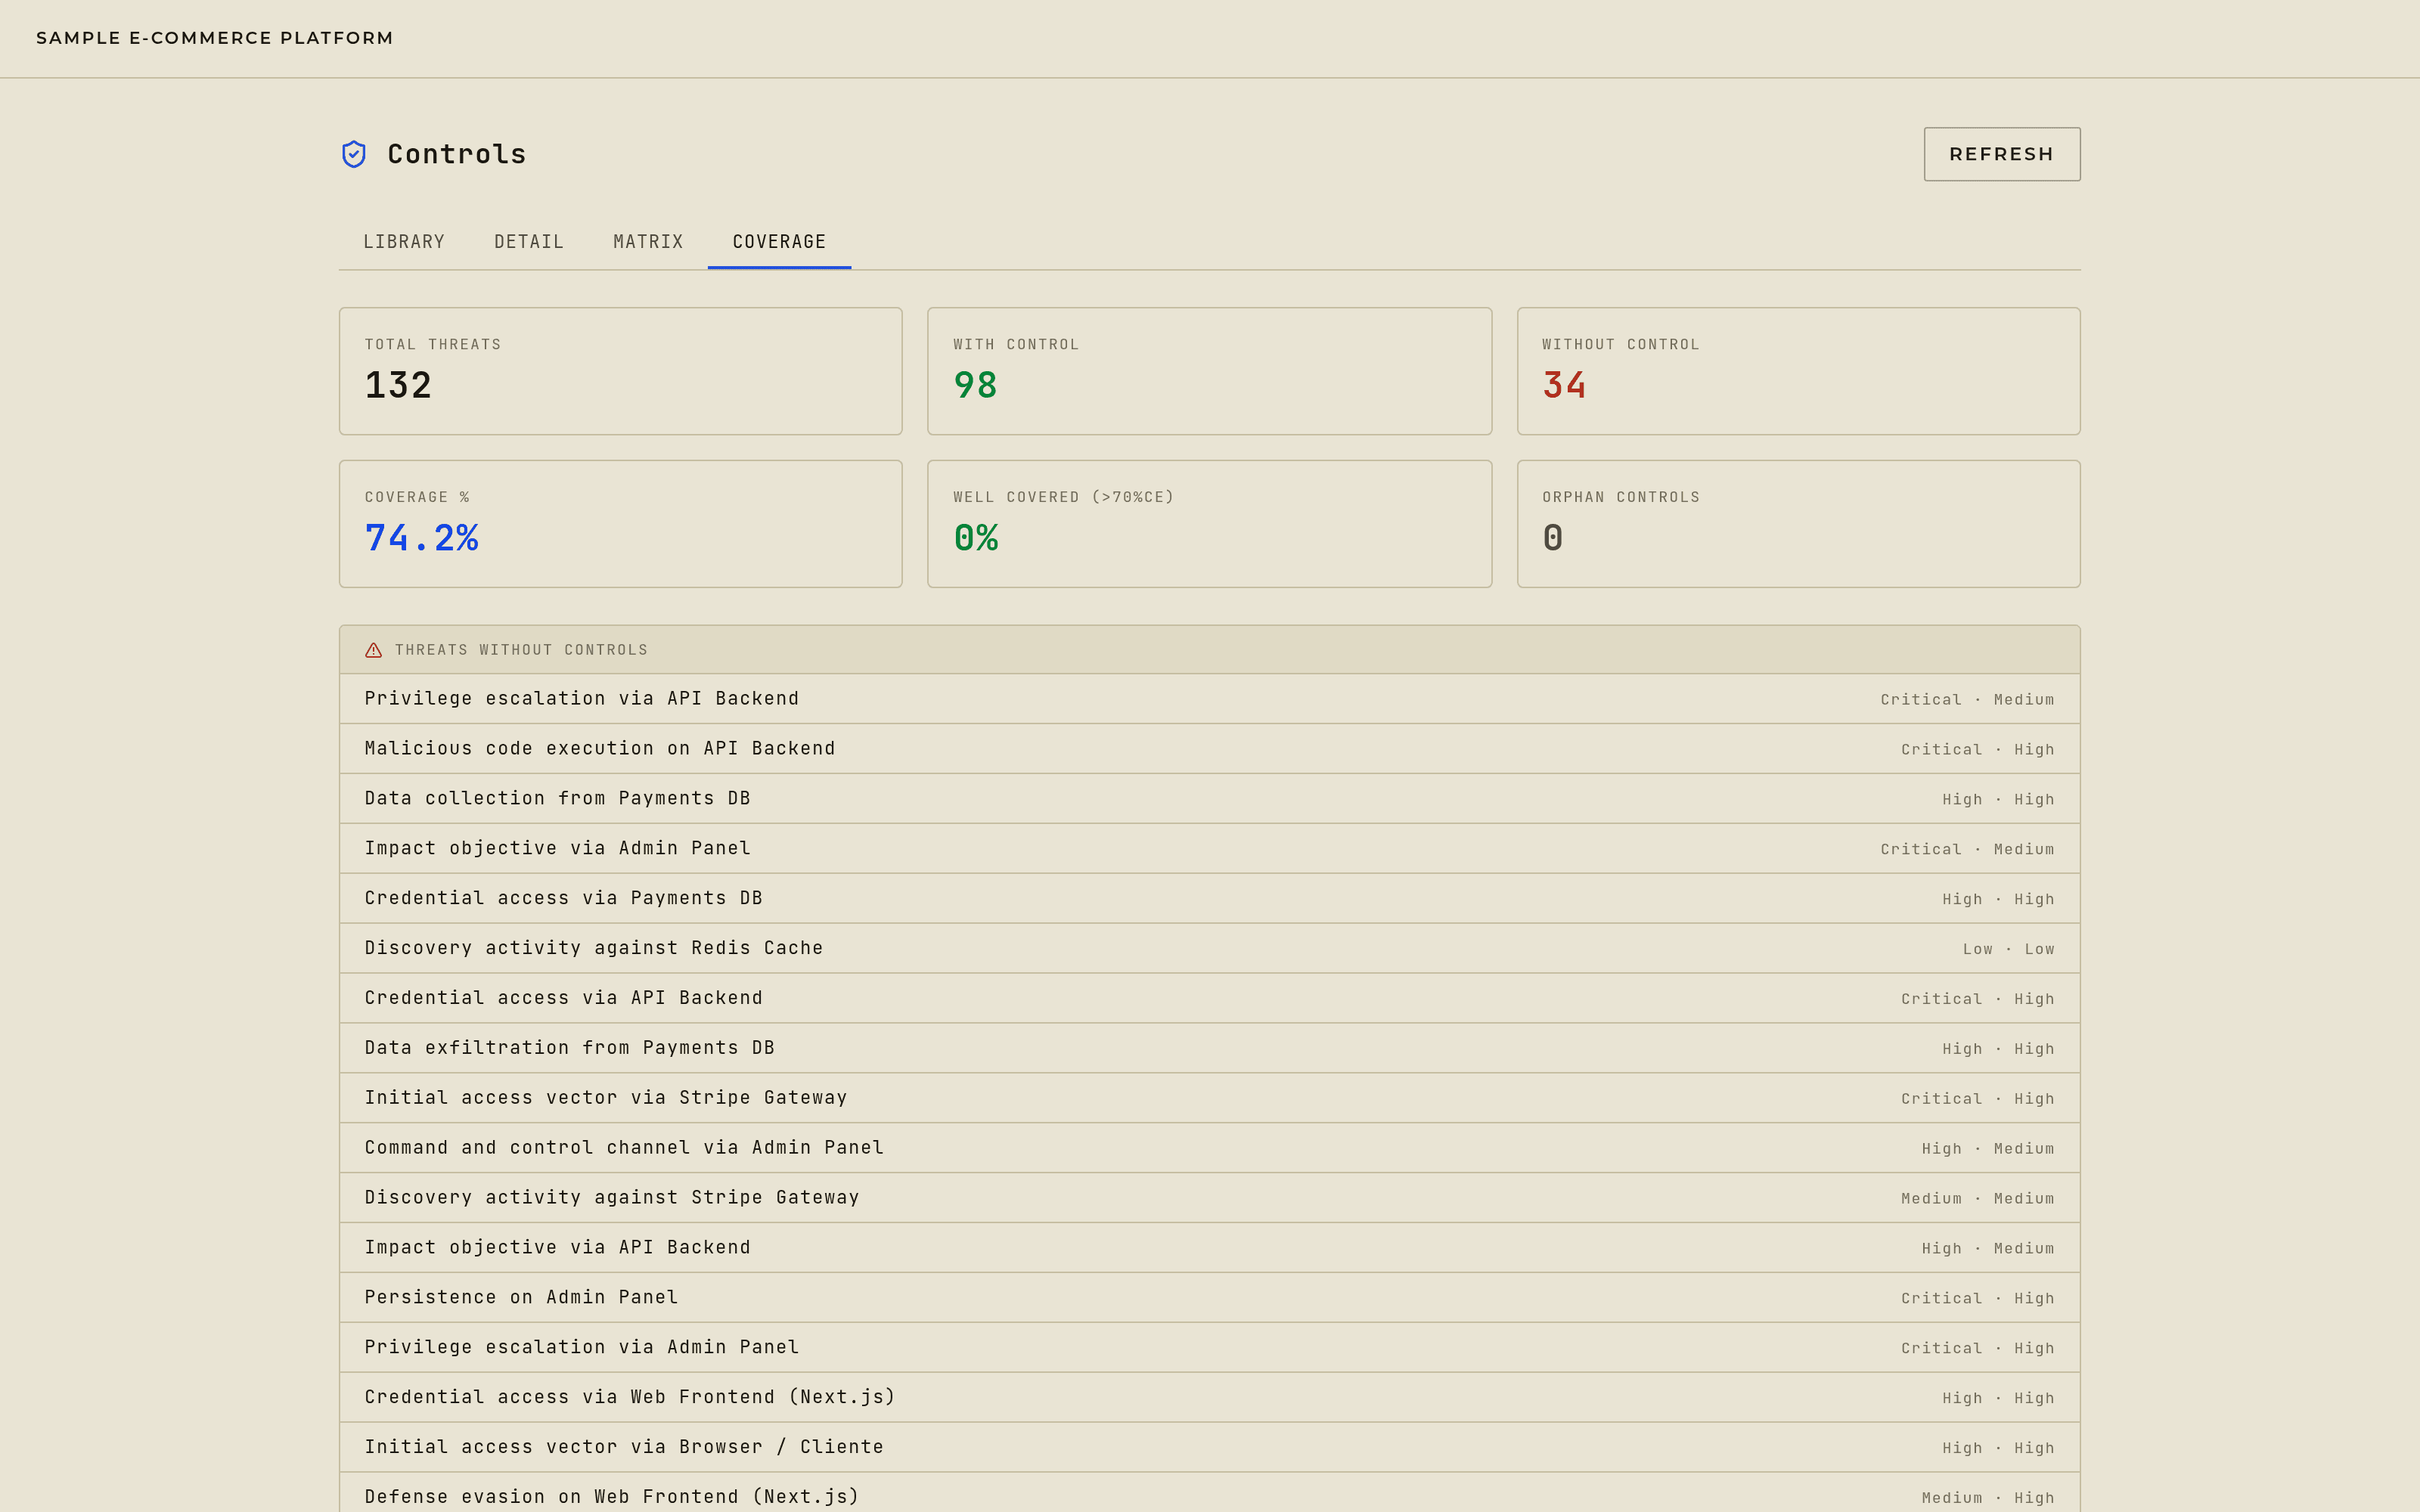
Coverage: how much of the project has a control behind it, which threats have none, and how many controls are orphaned.