

Create a project
2 of 4 · How-to
A project is one system you're modeling — its assets, its dataflows, its threats, and its score. Everything else in the platform hangs off it.
Step 1: Start a new project
New project from the Projects page, or from inside a client — starting it from the client assigns it there without a second step.
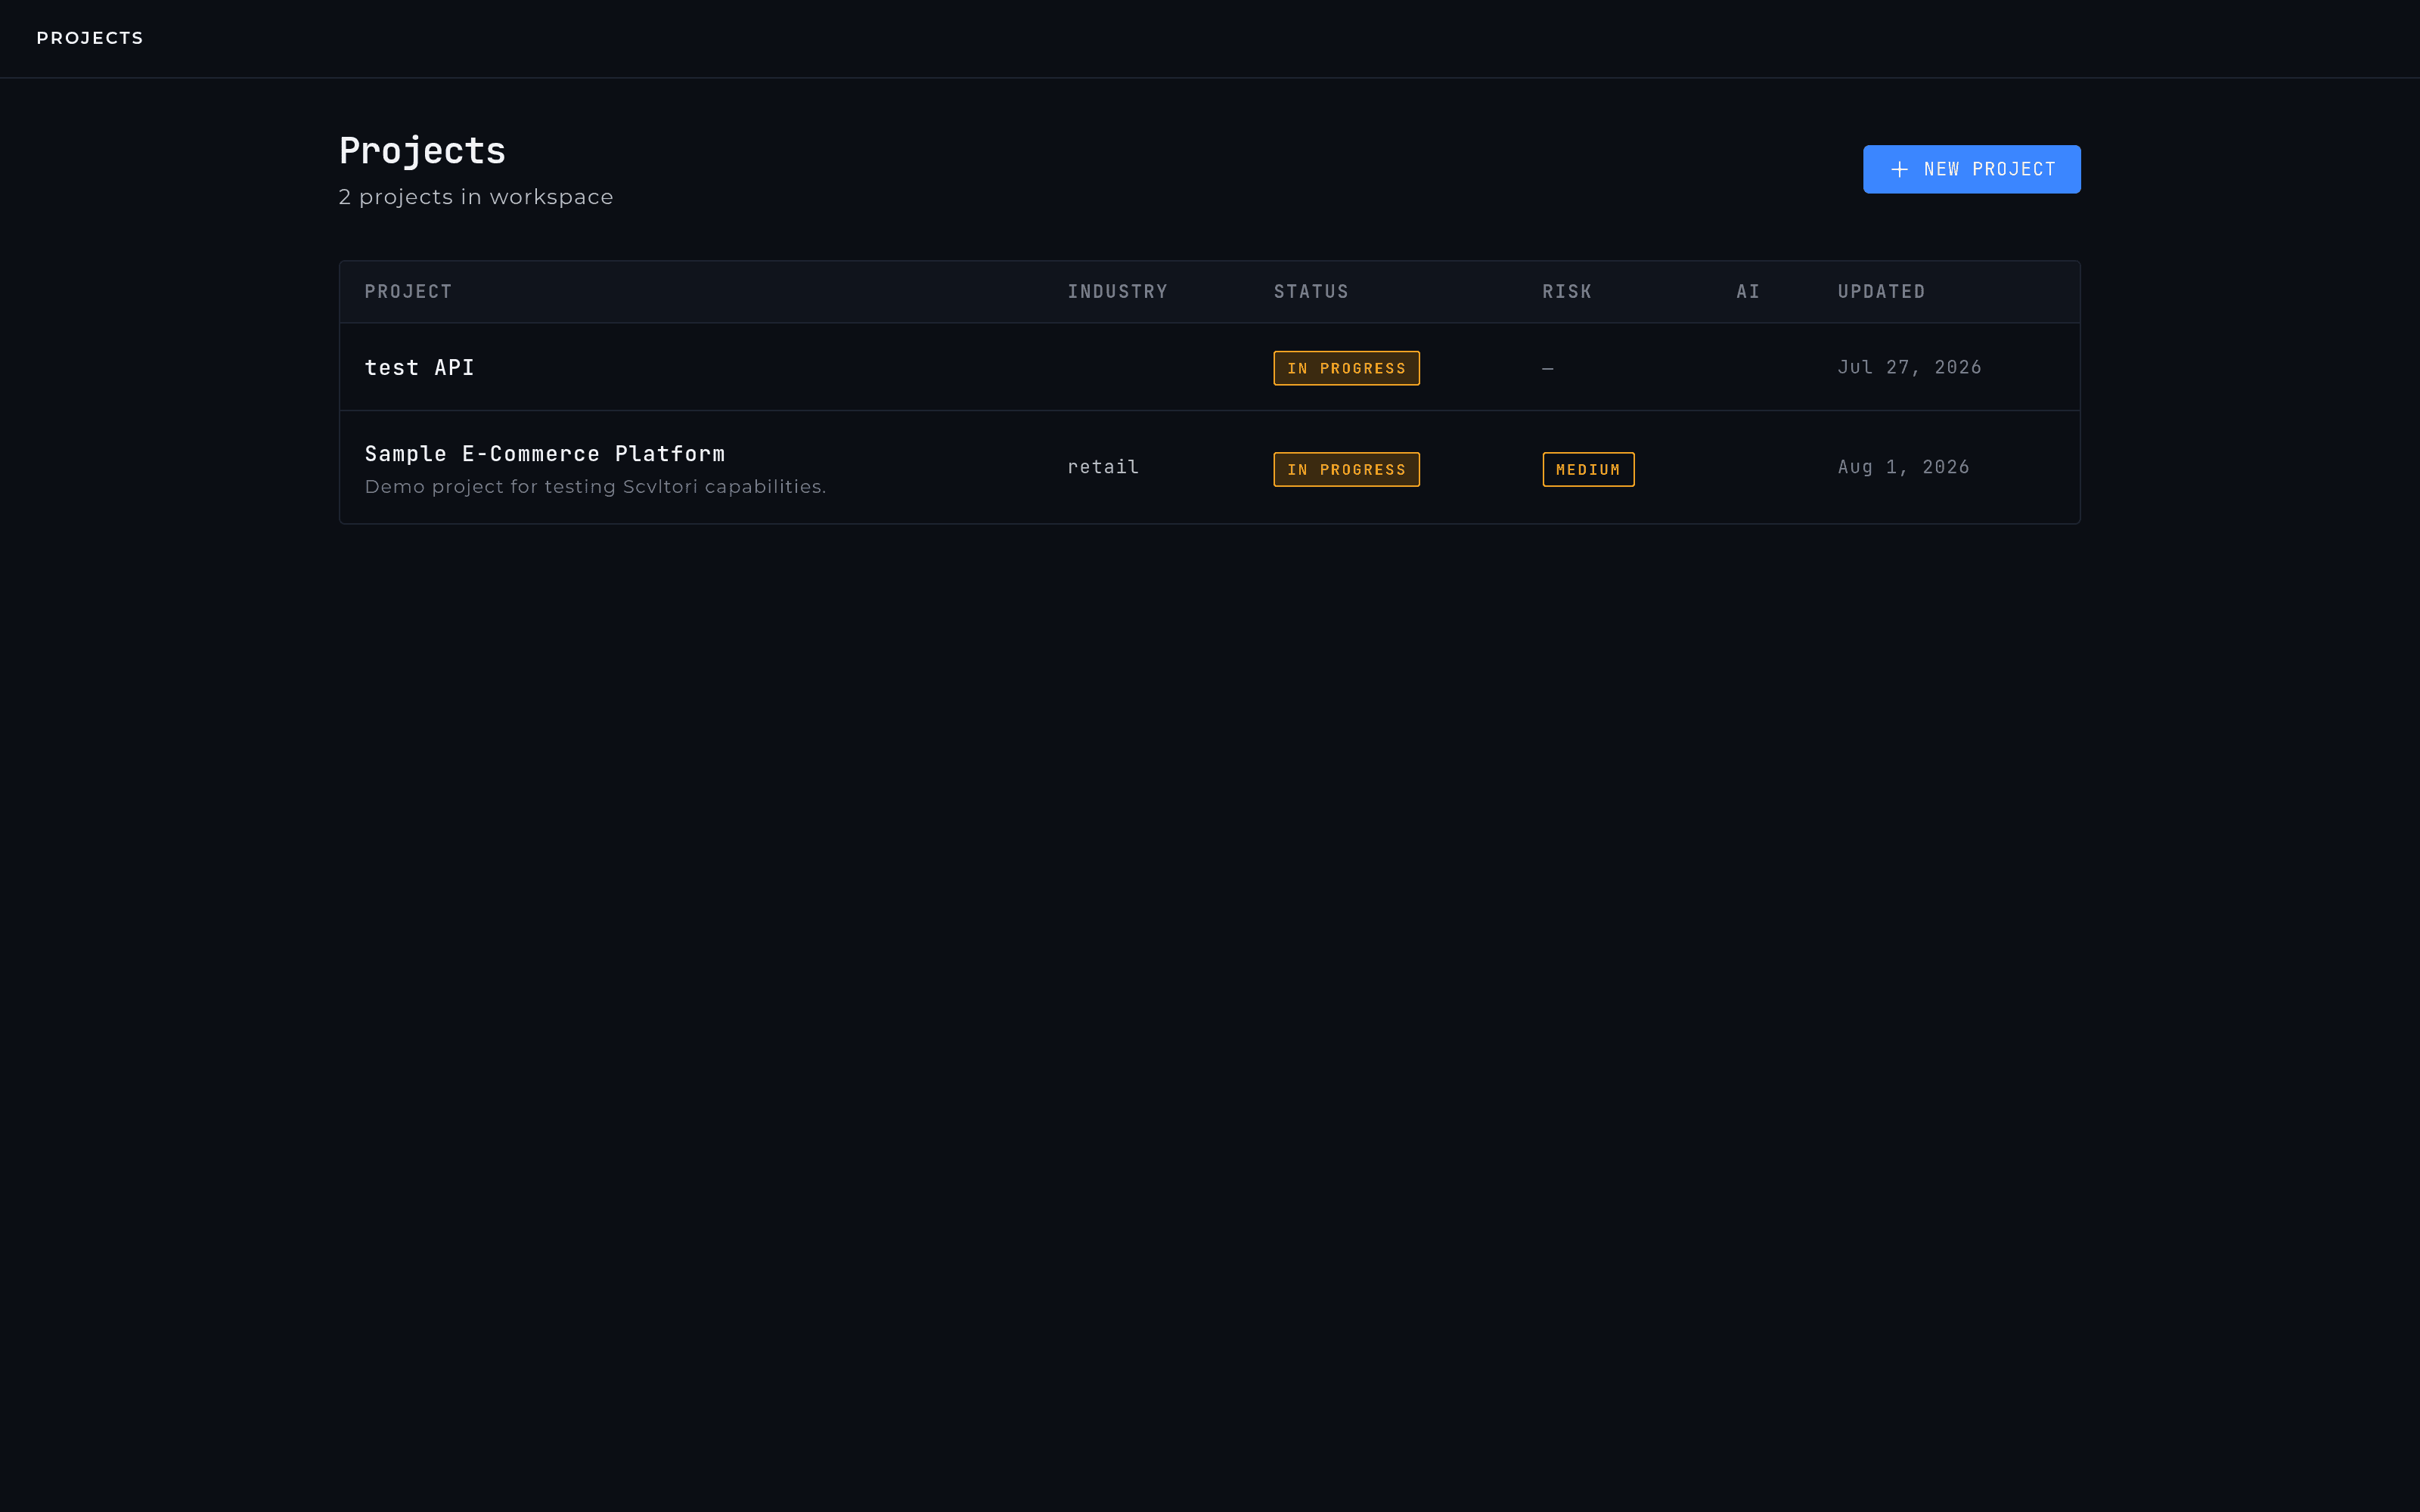
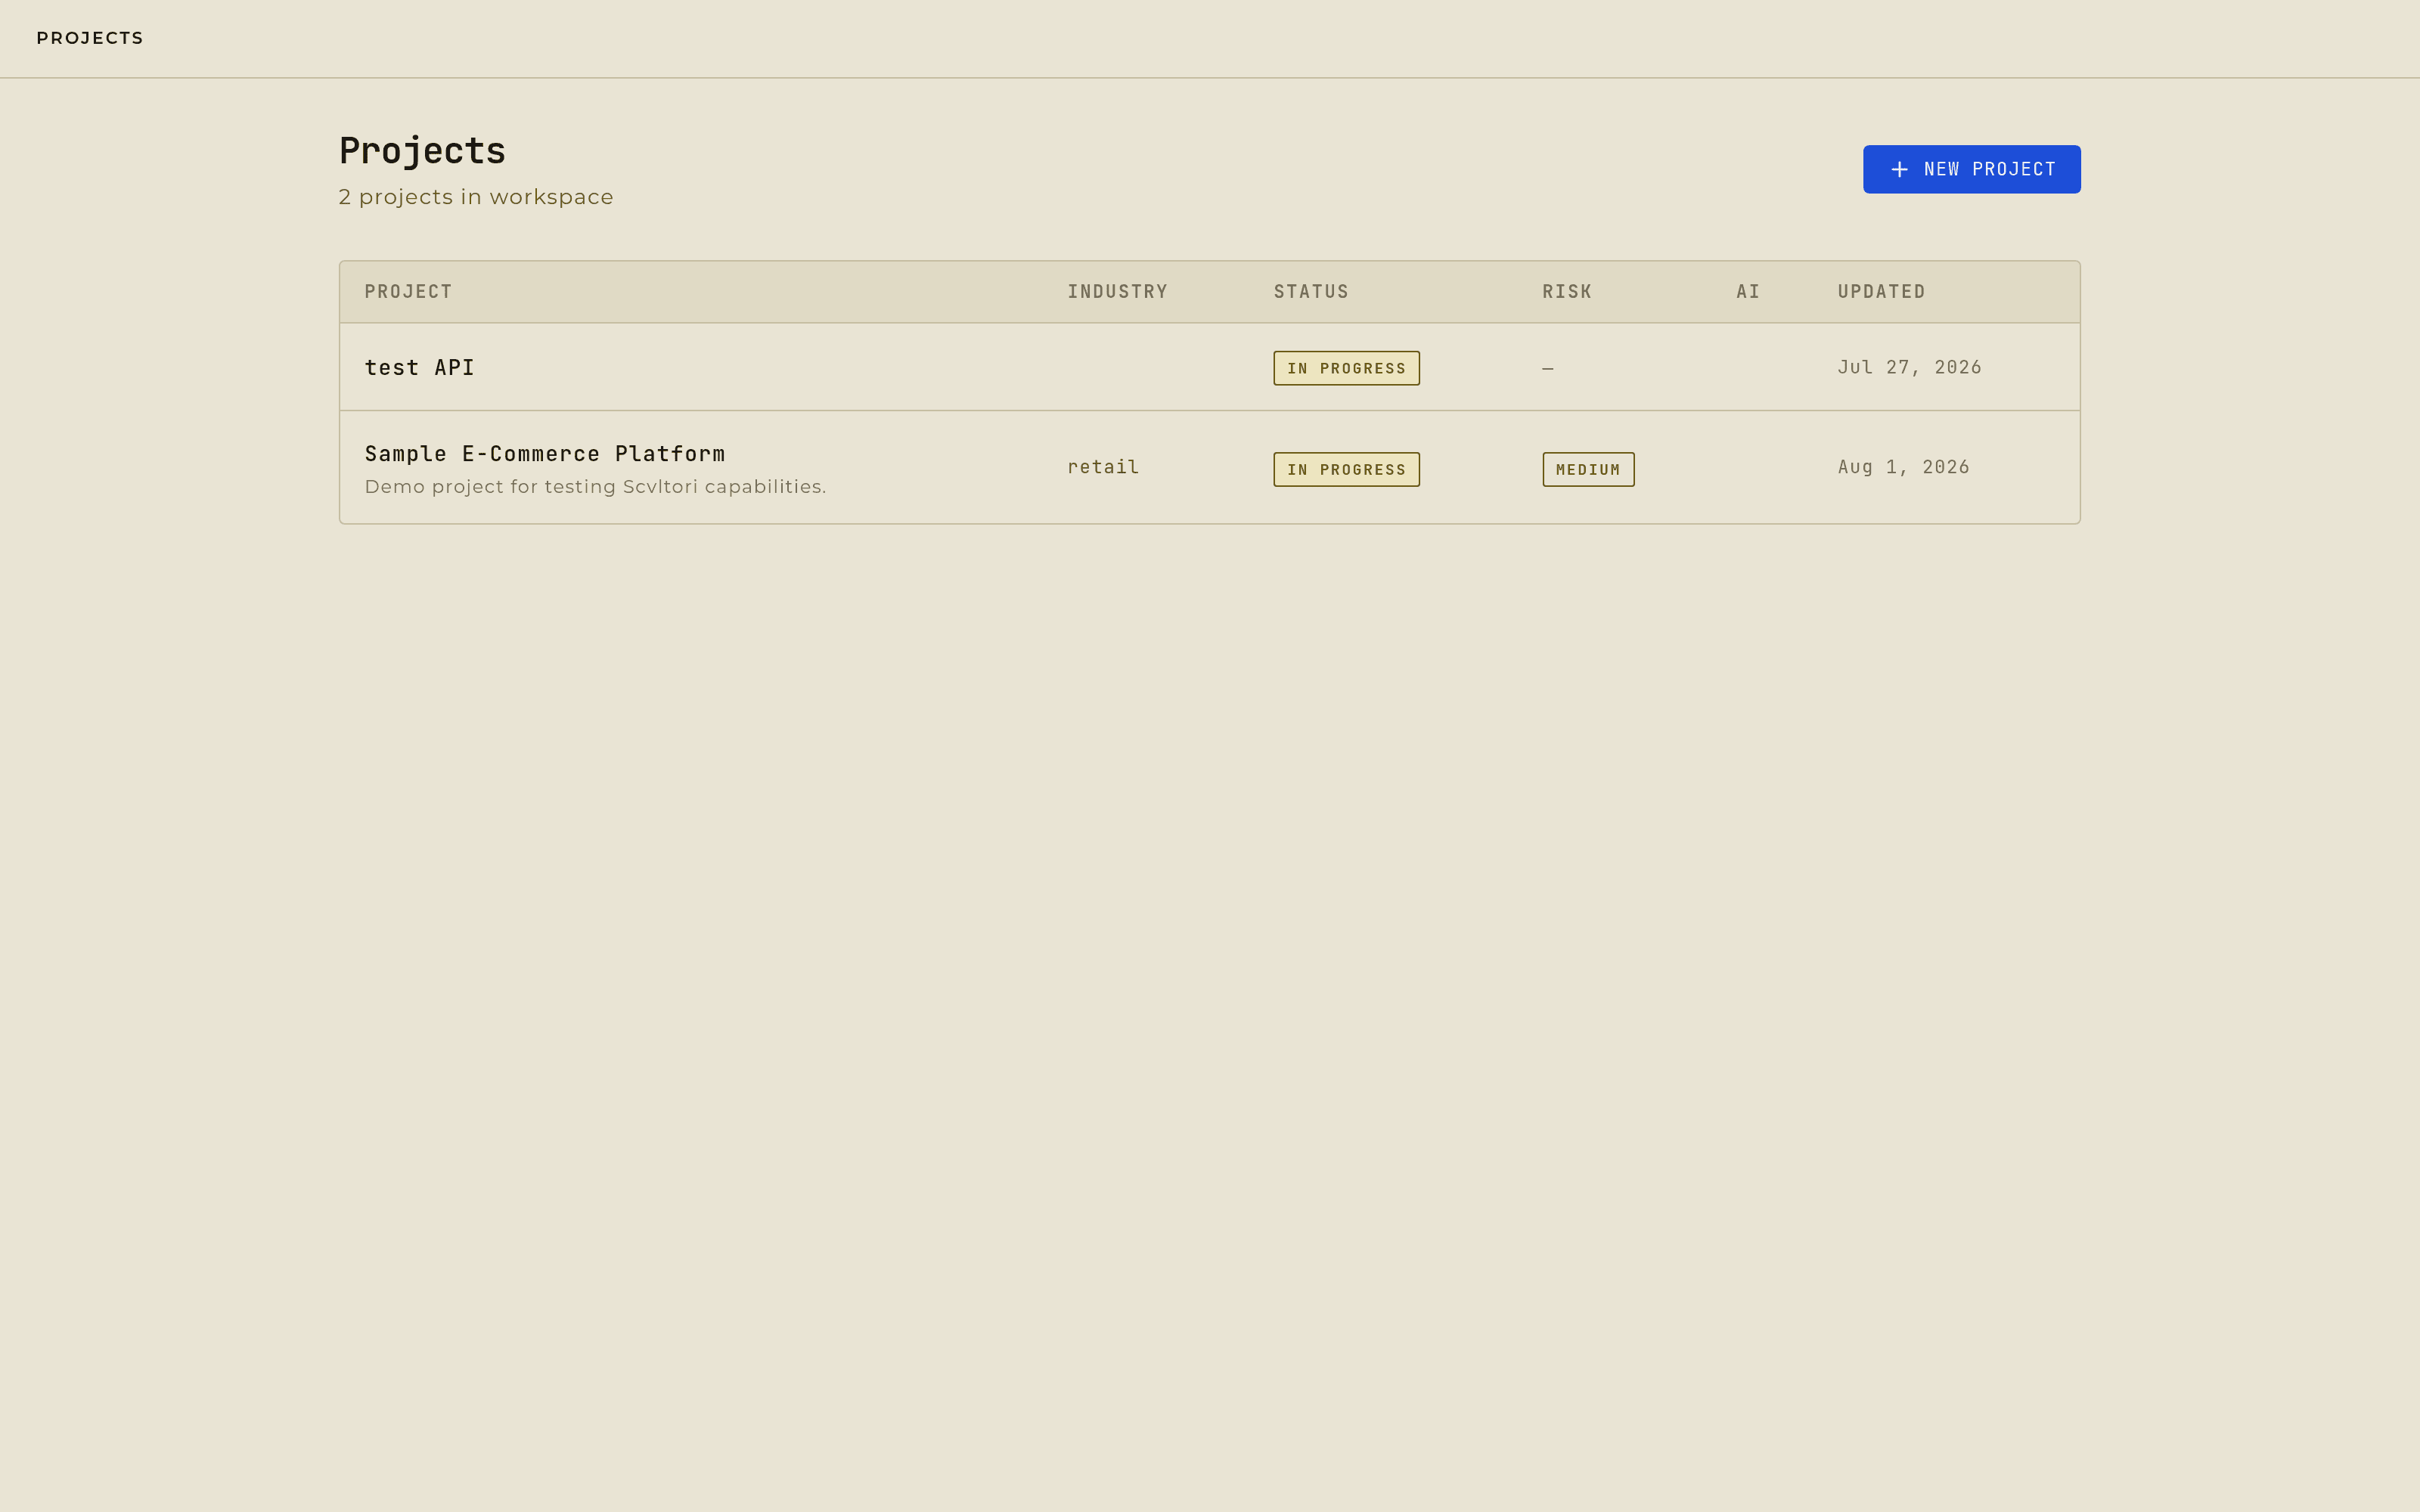
The Projects page, where New project sits top right. Step 2: Name it
Project name is the only required field, and it has to be unique within the workspace.
Step 3: Describe the system
Optional, and the option worth taking. Description, industry, and system type — web app, API, cloud, mobile, or AI system, defaulting to web app — plus a flag for whether the system includes AI. The description is one of the three inputs the framework analysis actually reads, so a few honest sentences here are worth more than they look.
Step 4: Assign a client
Optional. The selector only appears for admins, and only when you aren't already inside a client — start from the client and this step disappears.
Step 5: Create it
Whoever creates the project becomes its owner, and you land on the project overview. The natural next step is adding assets and drawing the dataflows between them.
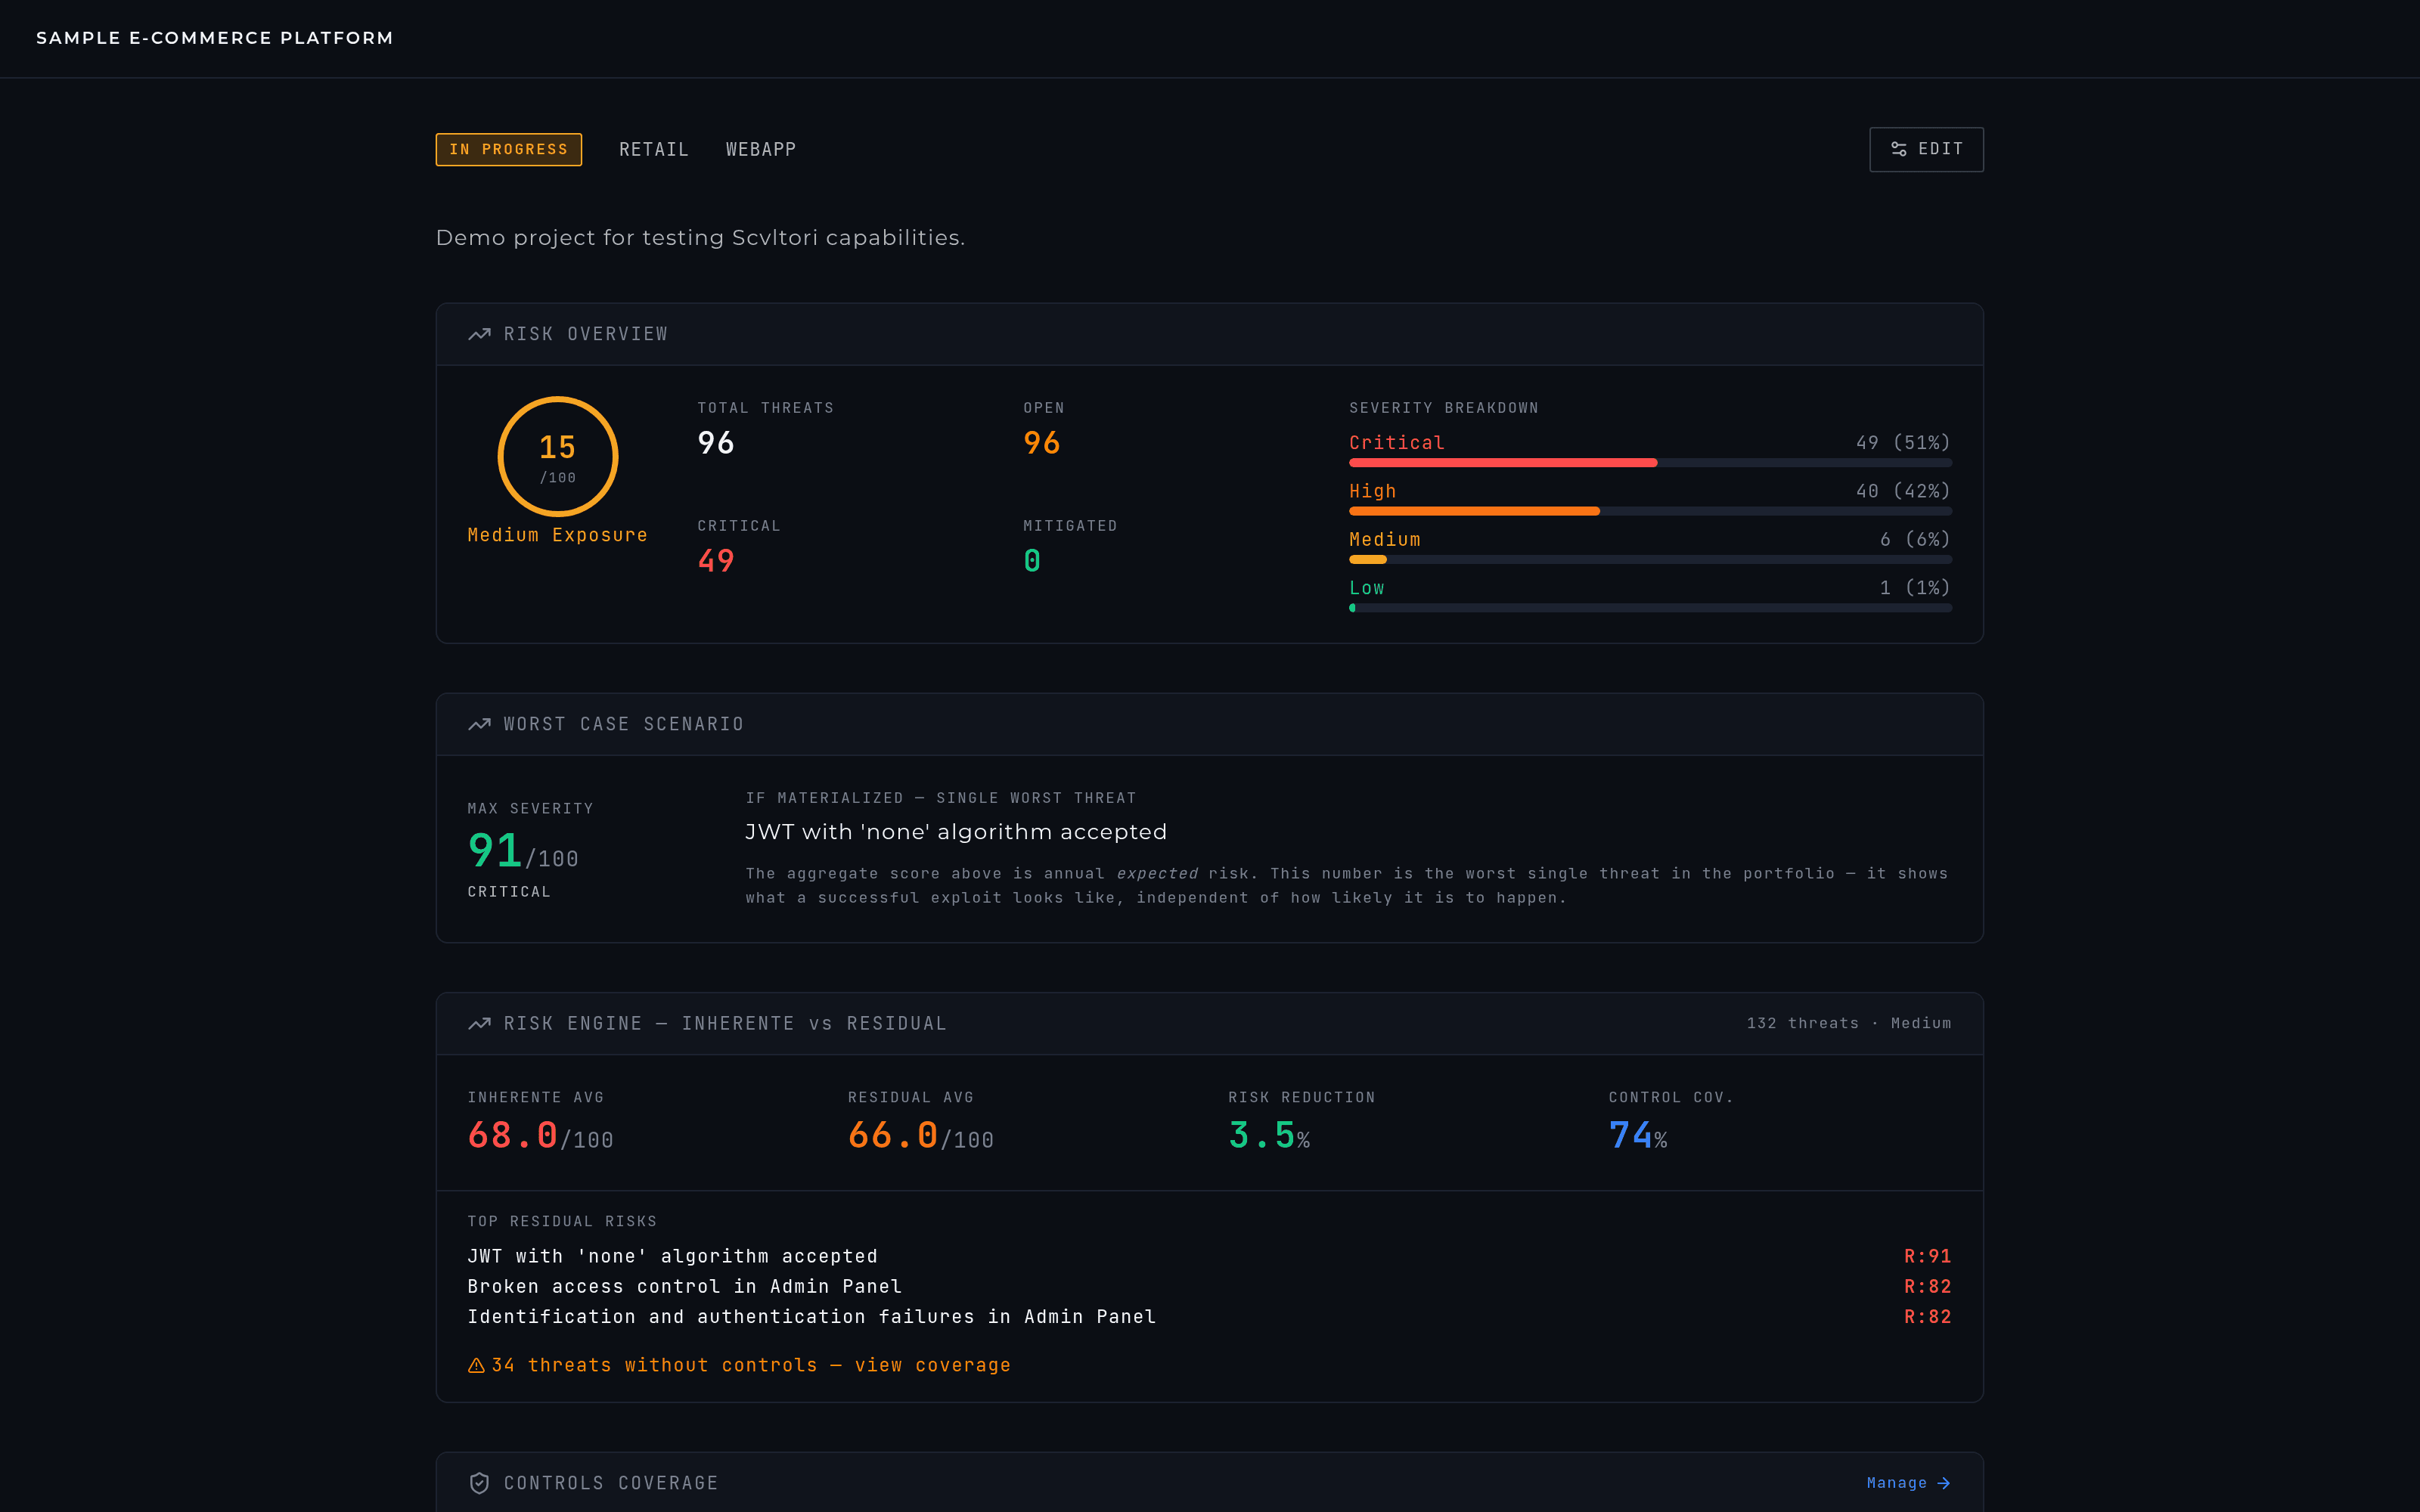
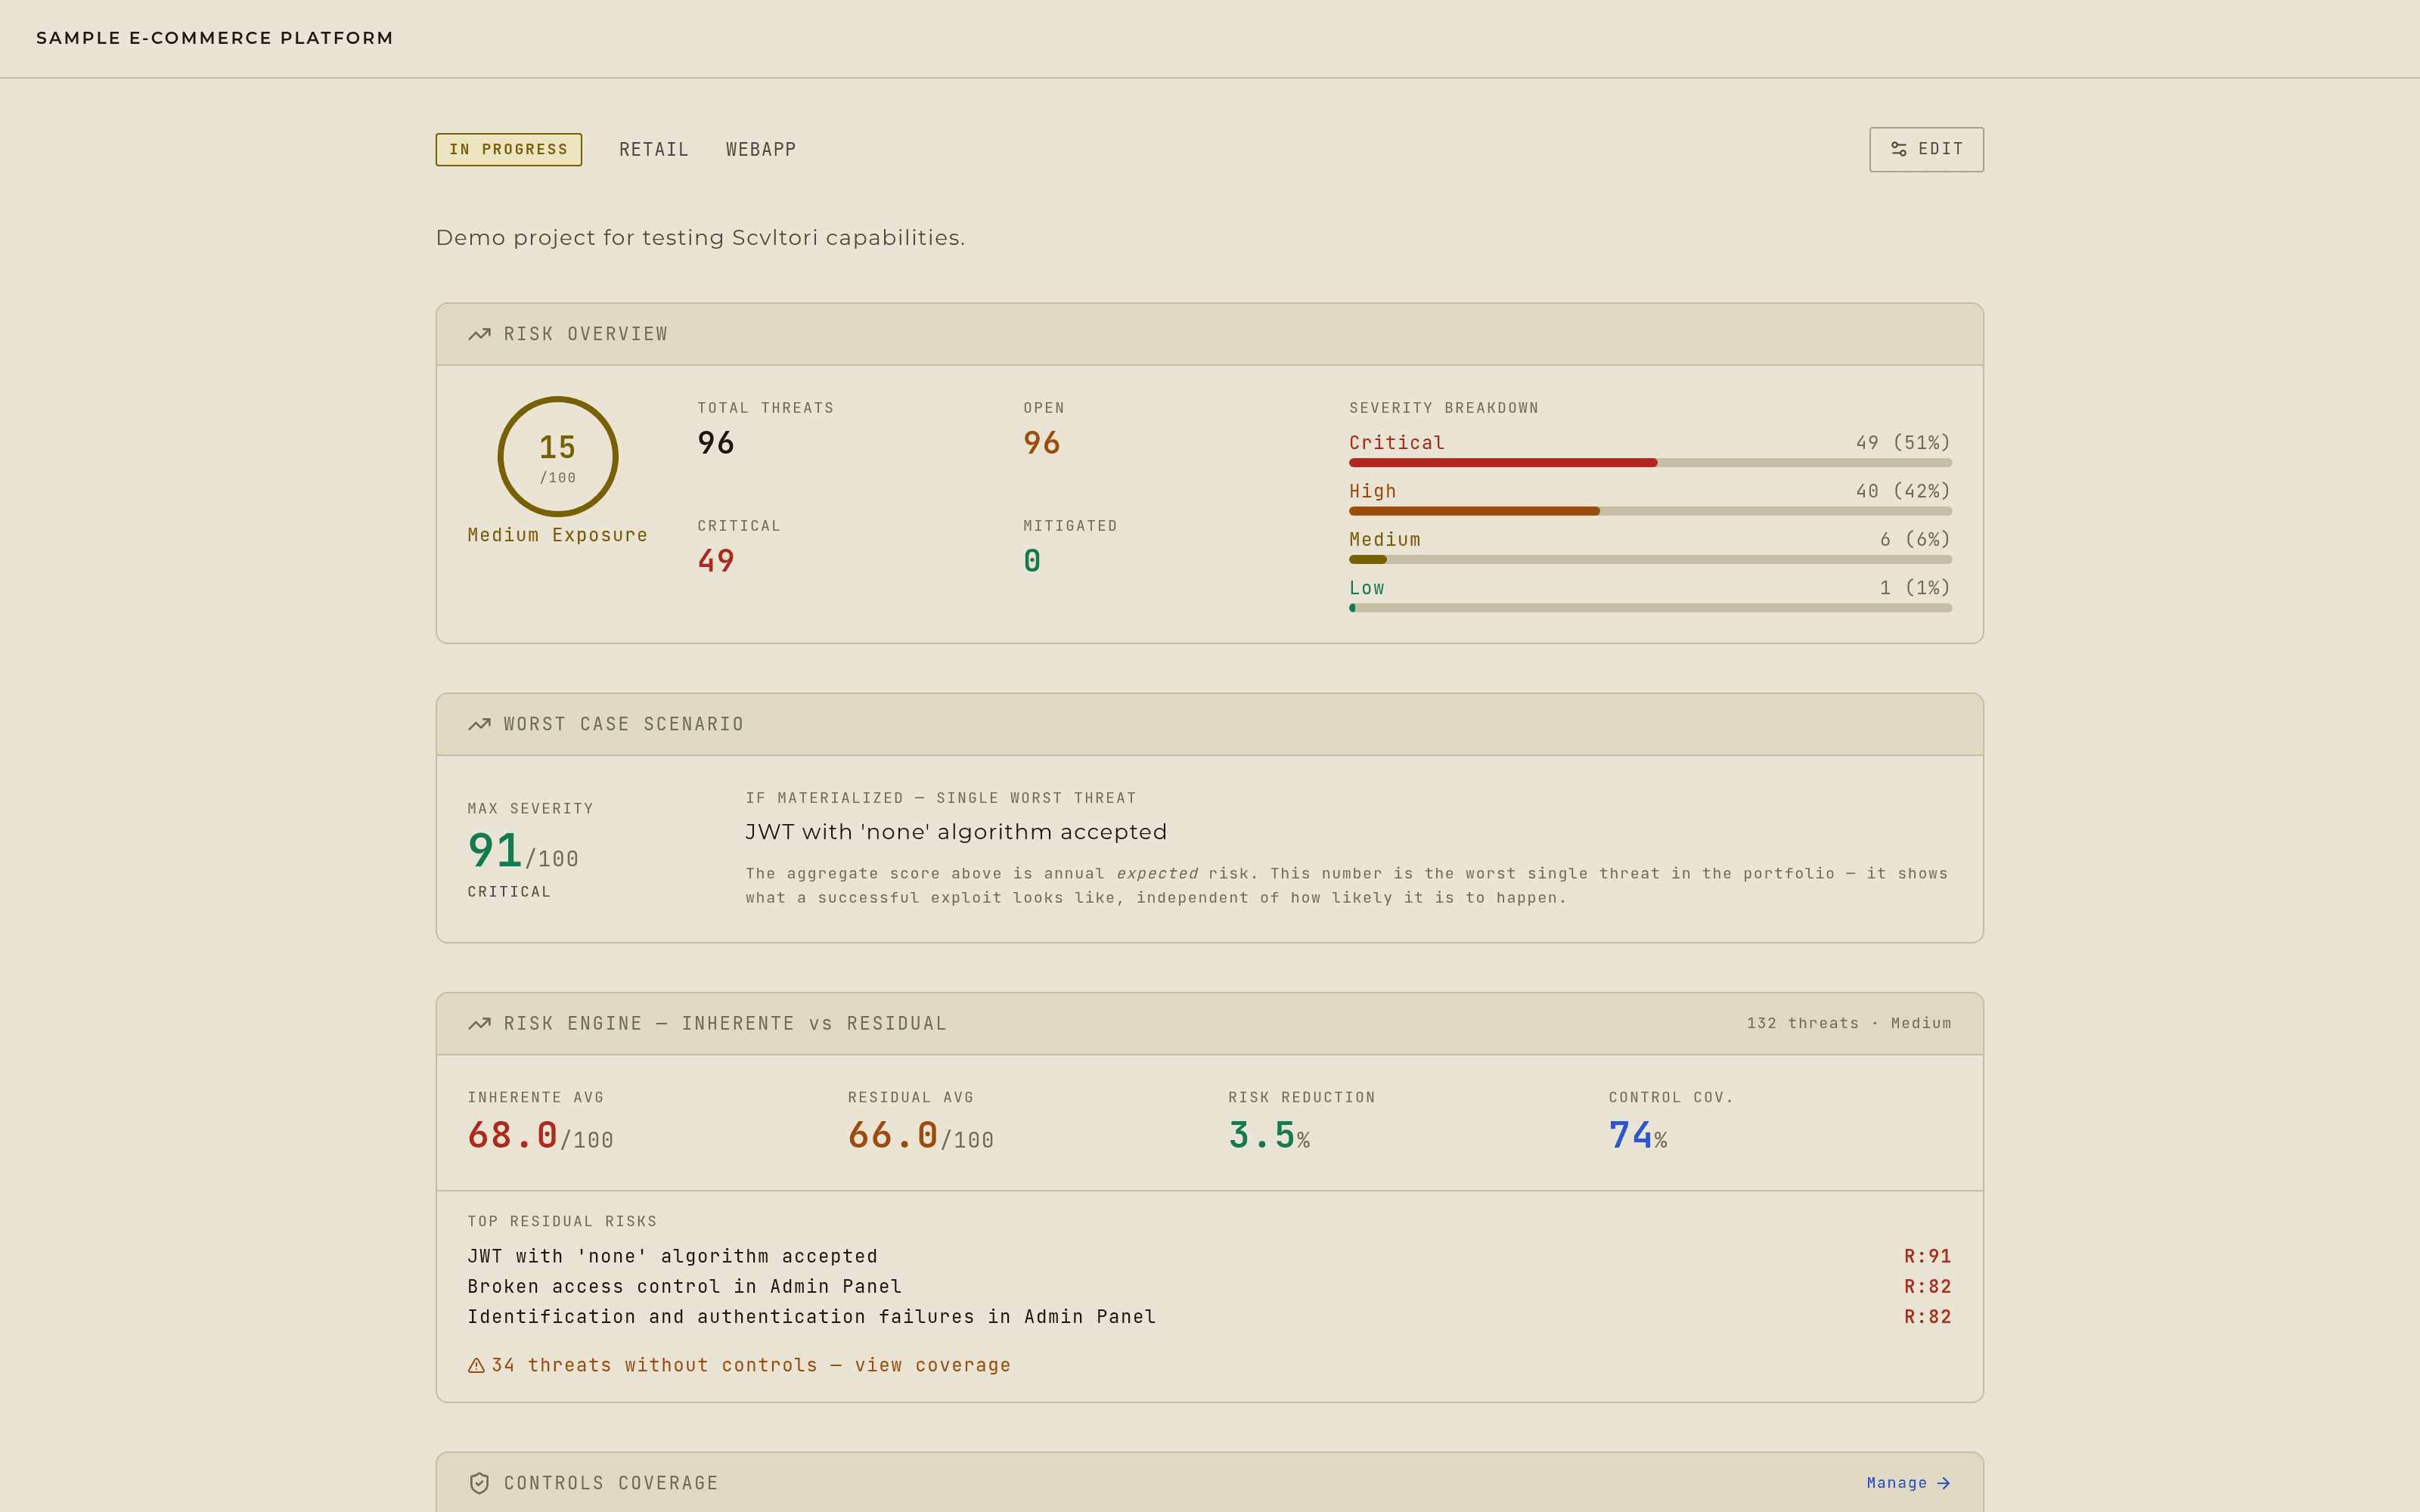
The project overview — the screen every later change reports back to, once there's something to report.