

Create a client
1 of 4 · How-to
A client groups projects under one customer. Consultancies and MSSPs use them to keep engagements apart; a workspace modeling only its own systems can skip them entirely.
Step 1: Open Clients
Clients sit at workspace level, not inside a project. Open the section and choose New client.

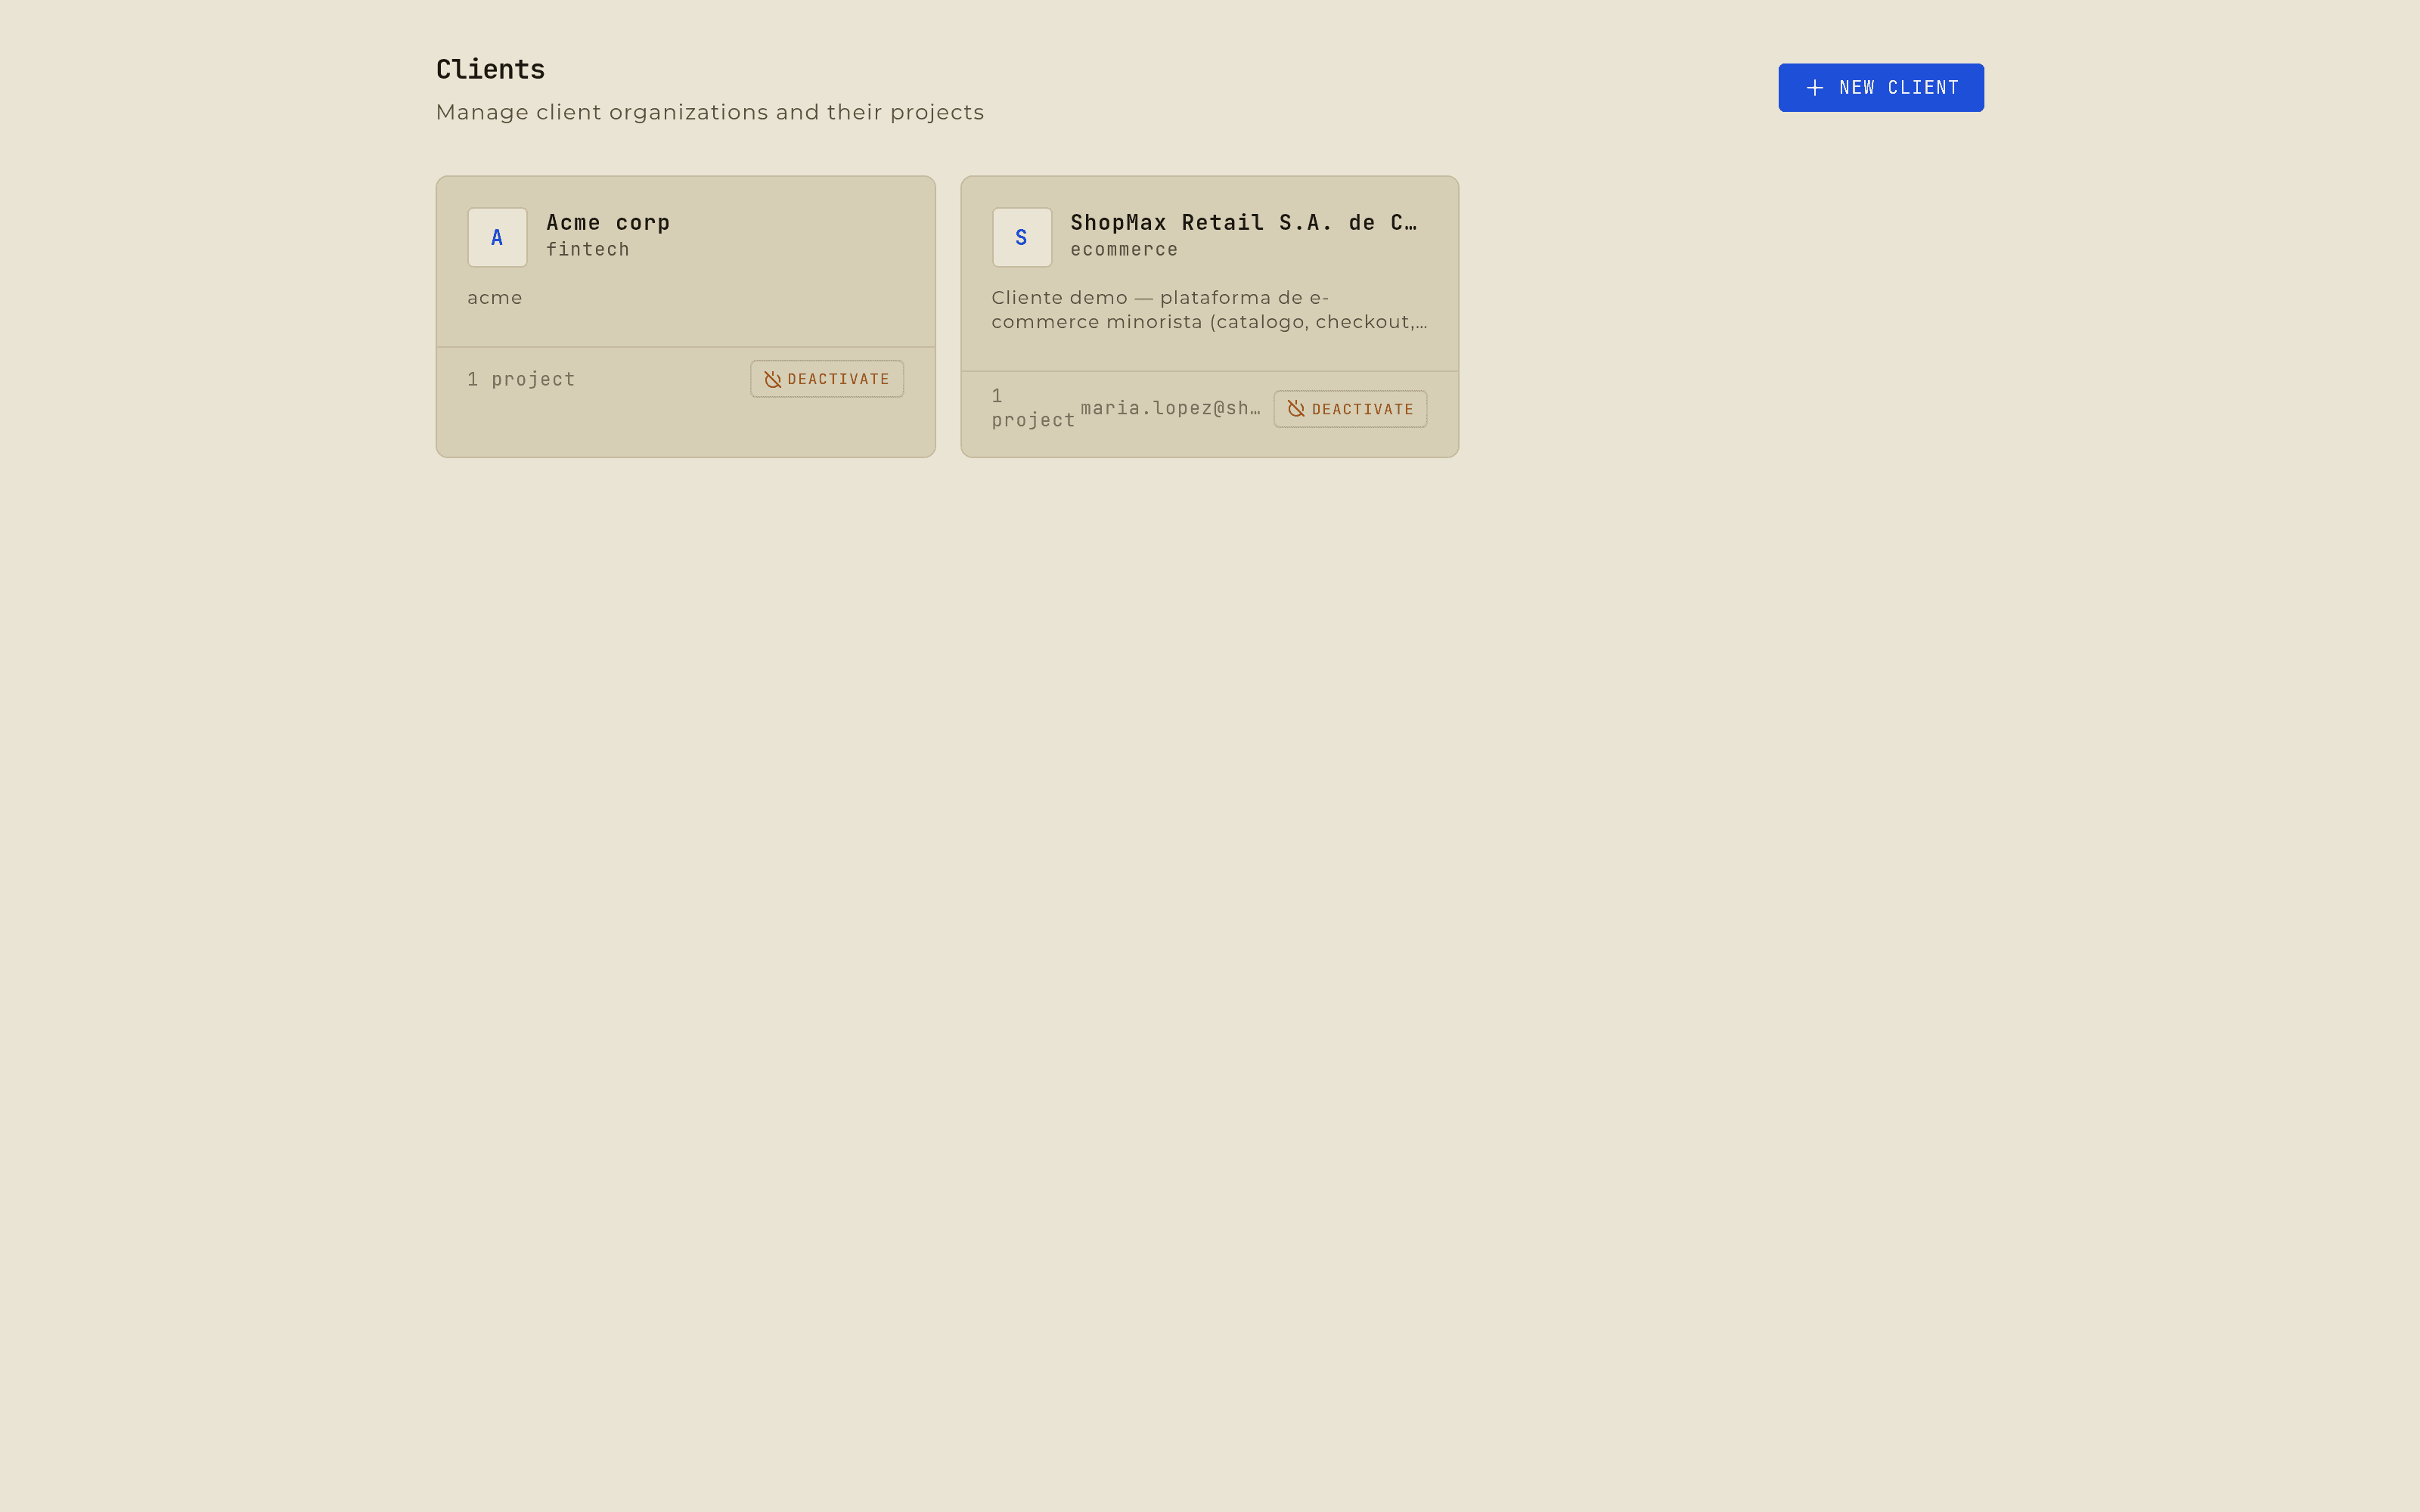
The Clients screen: one card per client organization, each showing its industry and how many projects it holds. Step 2: Name it
Client name is the only required field. Description, industry, contact name, and contact email are all optional, and can be filled in later without blocking anything.
The logo isn't part of this form. You upload it afterwards from the client's own page — PNG, JPG, GIF, WebP, or SVG, up to 5 MB.
Step 3: Save
You land on the client's page, which prompts you to create its first project. Anything created from inside a client is assigned to it automatically.